Showing posts with label Gellyroller. Show all posts

Wednesday, October 3, 2018

Simon Says: Let's Get Ready for Christmas!

Happy Wednesday crafty friends that means it's time for a new Simon Says Stamp Wednesday Challenge!


This week Simon Says: Let's Get Ready for Christmas! The design team is featuring Clearly Besotted products, it isn't a requirement to use them but if you have them we would love to see them!

Come join in on the fun, you have the chance of winning a $50 gift card to the fantastic Simon Says Stamp store!


I had such fun making this scene with masking!  I started by stamping my trees in the middle of the panel and cutting a mask out to then stamp my mountains (both border stamps are from the Clearly Besotted Scene It stamp set).  I then stamped my mice from the Clearly Besotted On Thin Ice stamp set.


I colored all of my elements with Copic markers including the sky in my B2 family of markers. I used Cool Greys for the mountains and added glitter to the mountain tops. I used the YG6 family for my trees.

I used some PostIt tape to mark my "ice line" and used a light touch of Tumbled Glass Distress Oxide Ink. I then colored in my mice with the Warm Greys and a mix of my "R" family for the red and some "G" family for the greens.


Once my scene was complete I added my Snow Marker and heated it with my heat tool and added white dot detail for my falling snow and some fun pompoms from my stash on their hats!


Follow Simon Says Stamp on Instagram

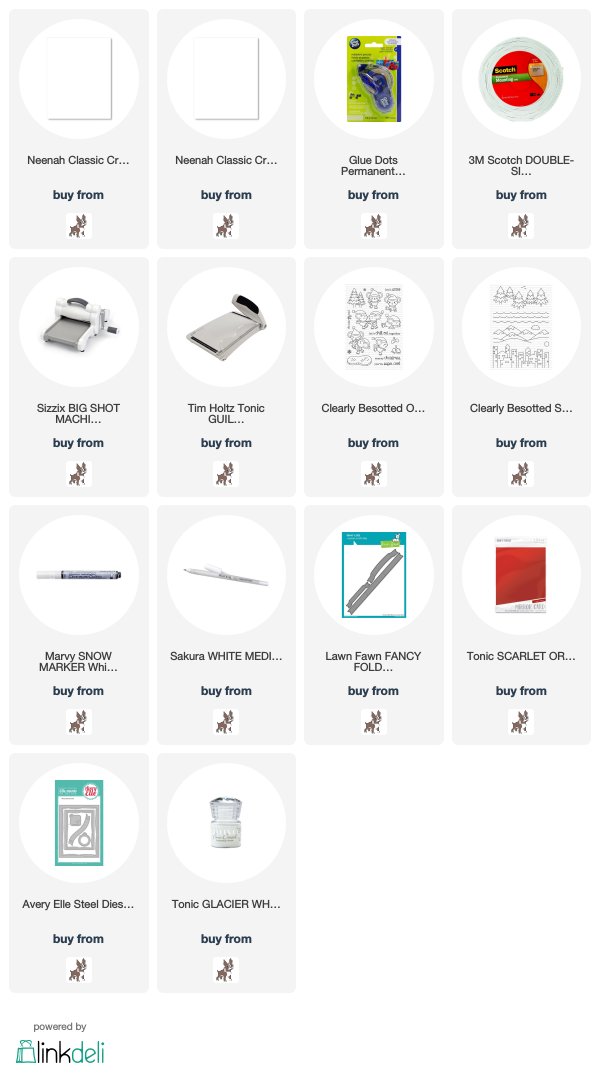
Products used are listed and linked below,
Thanks for taking the time!

Kim

Wednesday, February 15, 2017

Waffle Flower Treasure!

Happy hump day! I needed a boy birthday card for one of my nephews and I thought this Tiger and Lily set by Waffle Flower was perfect! I believe this set has been out for about a year, but I was finally able to get my hands on it through Butterfly Reflections Ink!


I die cut two bases of Neena Solar White card stock and one out of Tim Holtz watercolour paper using the second largest Lawn Fawn Stitched Rectangle. One for my base, one for my "sand" and the watercolour is for my waves.  

I stamped my images on Neena Solar White to be able to Copic color them.  I used the accompanying Tiger and Lily dies then added some dot detail and white gell pen for highlights.  For my card base I die cut some Lawn Fawn clouds out of full sticky post it notes for masking and used Tumbled Glass Distress Ink for the sky.  I used the "wave" die from the Tiger and Lily set on watercolour card stock and used Salty Ocean, Peacock Feathers and Mermaid Lagoon Distress Inks and spritzed them with my Distress Sprayer for a water droplet effect. 

For the sand, I used a Lawn Fawn Stitched Hillside Border and added Antique Linen and Gathered Twigs Distress Inks and the accompanying markers for detail.

I then put the card together and topped it all off with sequins by Tailored Expressions!

Thanks for taking the time!
Kim

Thursday, March 24, 2016

Fairy Fun with Lawn Fawn!

I am just in love with the Fairy Friends set by Lawn Fawn! I mentioned in a previous post that it wasn't in my original plan to purchase this one and it has become one of my favourites from their last release!   I don't usually work primary colours but for some reason I did with this one - but I like the way it turned out. The only thing my husband pointed out is the sentiment is Have a Magical Day and it is a night scene... lol!


For my background I used Distress Inks and my mini ink blending tools with Mermaid Lagoon, Blueprint Sketch, Chipped Sapphire and a little Black Soot for the sky.  I used a mix of Twisted Citron, Mowed Lawn and Lucky Clover for the grass and the Mowed Lawn Distress Marker for the few blades of grass. I put my panel aside to dry and stamped my images from the Fairy Friends stamp set and coloured them with Copics, added sparkle with a Gellyroller on the fairy's wings and the shadow areas on the lamp post and window.  I die cut the fence with the Lawn Fawn die, trimmed the bottom for scale and shaded lightly with Pumice Stone Ditress Ink. Once the panel was dry I glued my images and stamped the "fairy dust" in Delicata Gold and coloured it in with the same Star Dust Gellyroller pen. I added some stars with my white Gellyroller and Glossy Accents for the light on the post and the window on the house/hut to finish it off!

Happy long Easter Weekend!
Thanks for taking the time!
Kim