Showing posts with label Rounded Rectangles. Show all posts

Saturday, December 15, 2018

A Blog Named Hero: Winter!

Happy Saturday crafty friends! Time for a new challenge over at A Blog Named Hero! This month we are focusing on Winter!
The beginning of Winter for me is always about Christmas and the joys of the Season! So for my project today, I chose the Color Layering Trimmings :)


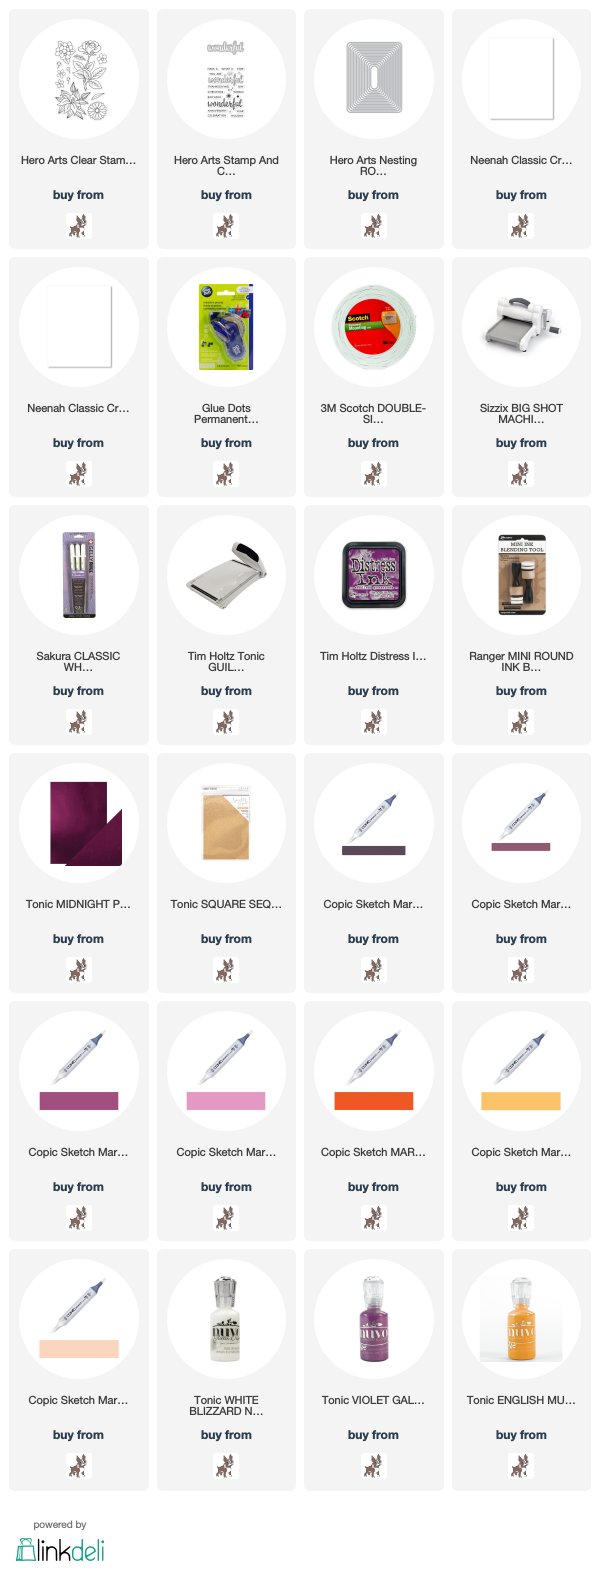
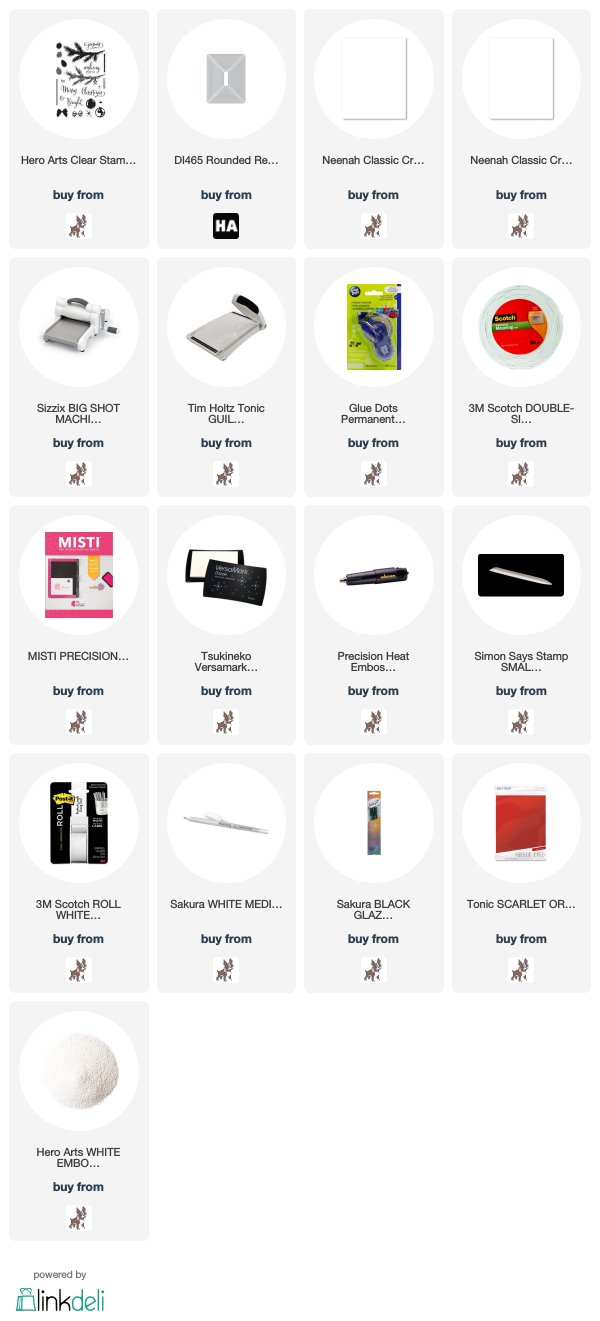
This was such a fun and easy card to put together. I started with my Neena 80lbs panel and die cut it with a Rounded Rectangle die and stamped my branches? (Not sure what to call them) in a random pattern on the background and went back with the second layer.


I then added the pinecones and I made my own berries with a blending stick and red ink. Once that was complete I added some white gel pen detail to the berries.


For my sentiment, I die cut some Tonic Red Organza Mirror cardstock from the Hero Arts Rounded Rectangles and white embossed my sentiment from the same stamp set.  I also added the bow from the set on the top.

If you are looking for quick last minute Christmas cards this set is so fun and easy!
Thanks for taking the time all the products used are linked and listed below. Affiliate links used at no extra cost to you!

Kim


Wednesday, October 24, 2018

Fall flower with color inspiration!

Happy Wednesday! I am over at A Blog Named Hero this morning sharing a fall flower inspired by the beautiful color palette for the current challenge!

Look at the gorgeous fall colors on this photo! Such fun to work with because it got me out of my comfort zone!


I decided to use a stamp set by Hero Arts that I love and haven't used in a while - Marianne's Flowers!


I die cut my panel using the Rounded Rectangle dies (they have become a staple in my stash). I then used my stamp positioner and stamped my flower using Copic friendly ink. I used RV99, RV69, RV66, RV63 for the plum color and YR09, YR04 and YR00 for the orange. I used YG's for the leaves as they have a brownish base - YG99, YG93 and YG91.


I then used the Crossing Waves Stencil with Seedless Preserves Distress Ink using a very light hand and I did not need to re-ink my blending tool.


I then used the Wonderful Stamp and Cut with some specialty plum paper and stamped the You Are from the same set.  I finished off the card with a scattering of complimentary sequin colors and added white gel detail.

You still have time to join in on the challenge! 
Thanks so much for taking the time!
Kim


Saturday, September 15, 2018

A Blog Named Hero - Monochromatic

Happy Saturday crafty friends! It's the 15th of the Month that means it's time for a new challenge over at A Blog Named Hero! 

This month we are going Monochromatic! I chose grey and silver for my project this month.


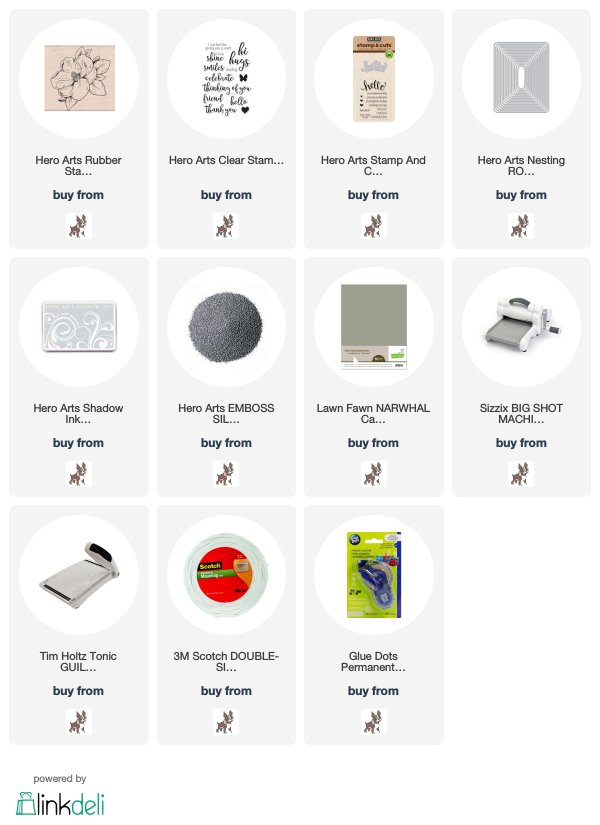
I started with my grey cardstock and decided on the beautiful Magnolia stamp by Hero Arts. I die cut my panel with the fantastic Rounded Rectangle dies and eyeballed my placement. I used Soft Granite Shadow Ink to stamp my flower (in hindsight, I should have used the Charcoal ink only because the ink dries lighter - you see I know this but I still pulled a blond moment and used the light ink lol).


Once that was complete I chose the Hand Drawn Messages, which I love and stamped my hugs with Versmark Ink and then silver embossing powder. I then stamped the sending with the Soft Granite Ink and embossed the hearts in the same Silver from the Hello Stamp and Cut set.


I foam mounted my panel to my card base and I was done. This was a really quick card to put together! Come join in on the fun over at A Blog Named Hero!

Thanks for taking the time!
Kim


Sunday, July 15, 2018

A Blog Named Hero Birthday Cards Challenge!

Time for a new challenge over at A Blog Named Hero!!!
The theme is all about birthdays :) I don't know about you but I can never have enough birthday cards on-hand!


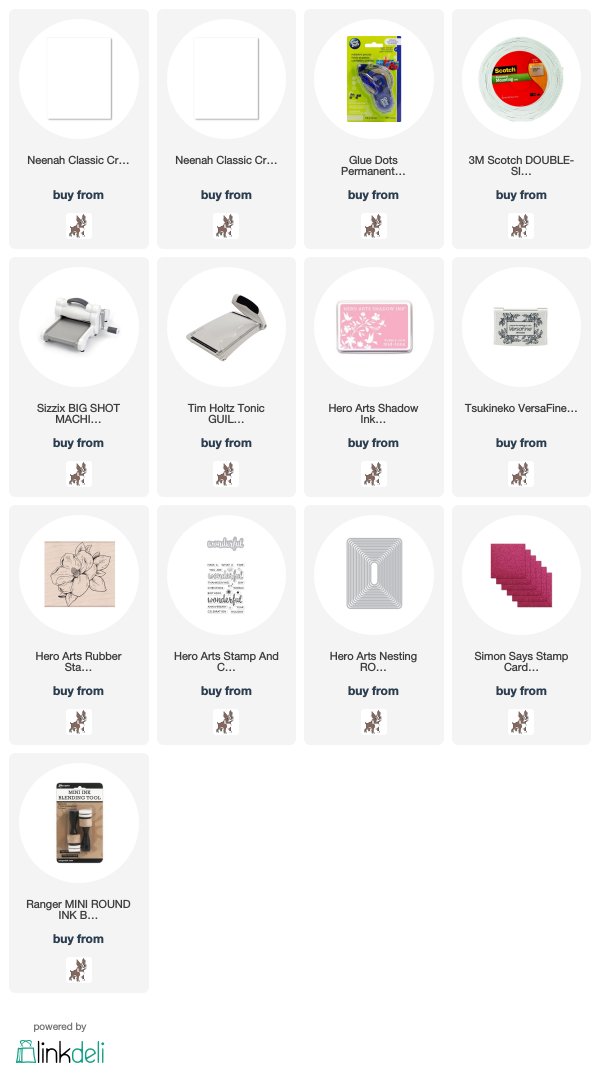
I am in love with the Hero Arts Magnolia stamp so, of course, that was my starting point! I stamped it on Kraft paper with MFT Kraft Hybrid Ink so that I could use my Polychormos pencils (another love of mine in my craft room) I hadn't planned on a color scheme I just picked a few of my favorites and I ended up with a magenta ish flower.


To add some dimension in the middle I used Dandelion Nuvo drops and a brown marker. I set my flower aside to dry and decided on the Rounded Rectangles by Hero Arts for my panel. I then masked off the sides with some PostIt tape and ink blended some Hero Arts Bubble Gum Ink as it matched my lighter pink on the flower.


For my sentiment, I used the Wonderful Stamp and Cut both the stamps and die.  I chose the Simon Says Stamp Magenta Glitter paper for my die and it worked beautifully with the darker flower color. I then foam mounded my panel on a Neena 110lbs card base and once the flower was completely dry I added to the lower right hand corner!

Thanks for taking the time!
Kim


Saturday, March 24, 2018

Going Green in March!


Happy Saturday! I am over at A Blog Named Hero this morning sharing more of my newer Hero Arts favorites! Our new challenge started on March 15 and it's all about your favorites! All of the products used are listed at the end of my post!


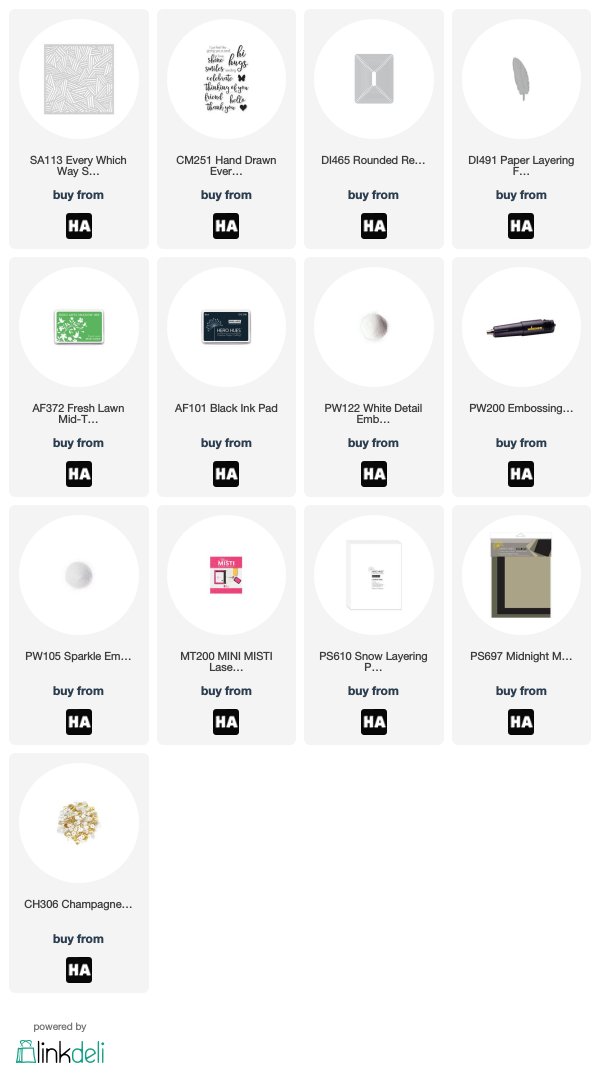
To start with green is my favorite color, and Hero Arts Fresh Lawn is my favorite green among the entire selection. So I decided to use this gorgeous color with the new Every Which Way stencil. Once I was done with my blending on top of the stencil, I went over the entire panel with a light hand and the same ink. I die cut the panel using the new (my new staple dies) Rounded Rectangle dies.


I placed my panel in the Misti to stamp the hugs from the new Hand Drawn Every Day messages in Hero Arts Black die ink. I also die cut my Paper Layering Feather (love this die) and placed it over the centre of my panel and inked again. I wanted to add foam tape and have the sentiment be seamless on both. I added a little black marker over the sides of the feather where the sentiment was stamped to ensure that there were no white areas. One that was done, I took my stencil and placed it back on top of the panel and added embossing ink, I then used Hero Arts Sparkle Embossing powder to give a light glitter effect. It looks beautiful in real life you can see it slightly in the first picture.


Once that was done, I die cut a piece of black paper from the Midnight Mixed Layering papers to back the panel. I also embossed the sending sentiment also from the Hand Drawn Everyday Messages using Hero Arts White Detail embossing powder and added my feather and smaller sentiment on the base panel. I put my panel on top of a card base cut from Snow Layering Paper and added some clear sequins from the Champagne sequin mix and some Nuvo drops.


Thanks so much for taking the time!
Kim


Thursday, March 15, 2018

Hero Arts - Use Your Favorite!

Happy Thursday crafty friends and welcome to the first A Blog Named Hero challenge of 2018! This was a fun challenge to prepare for, I have so many favourites from Hero Arts but I managed to narrow it down, lol!


Let's talk a bit about the favourites I used today (all products listed at the bottom of this post). I started with inks, I love Hero Arts ink. They were the first ink line I invested in and they are still, not only my favourite, I have never needed to re-ink them!


The Thank You die was my starting point, this was probably the first large word die that I purchased when it was released and I just love the size and font. I figured what is better than a rainbow to frame a bold sentiment!


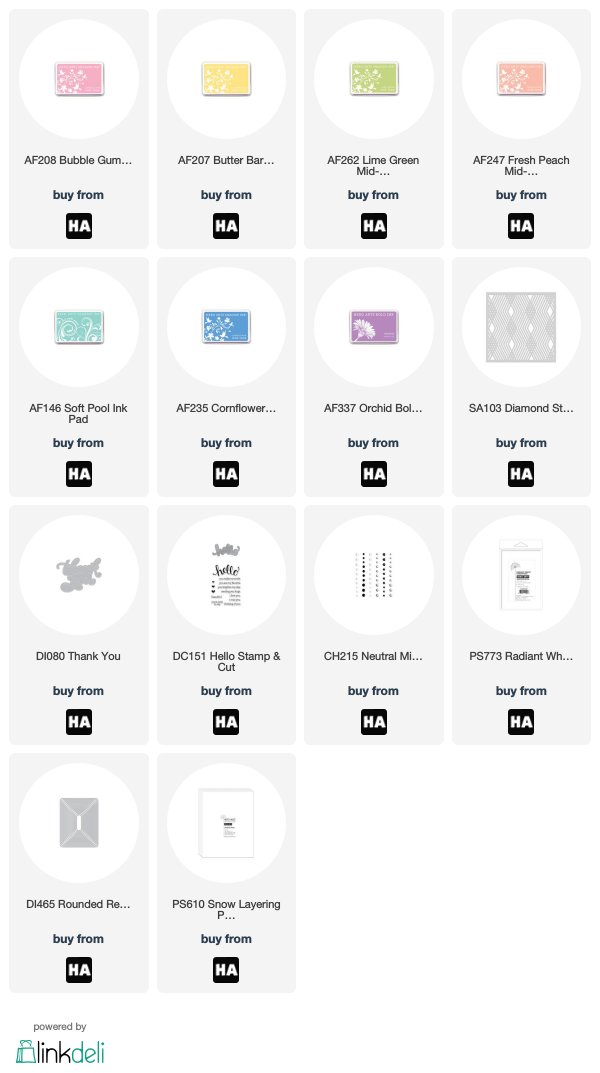
Another favourite product line for me are the stencils! I took my Diamond stencil with a piece of HA Radiant White card stock and went to town and ink blended Bubble Gum, Fresh Peach, Butter Bar, Lime Green, Soft Pool and Cornflower Shadow Ink and Orchid Bold Ink. Once I removed my stencil, I went over the panel again with a light blending of all the same inks. I die cut the panel with the new Rounded Rectangle Infinity Dies (these dies have my little heart!)


I die cut my Thank You from a piece of Radiant White card stock with fun foam and StickIt to give it dimensions and turn it into a sticker. I then used a secondary sentiment from the HA Hello Stamp and Cut and I white embossed it on black card stock.  I placed my sentiments on my panel and finished the design with some HA gems from the Neutral Mix.

Thanks so much for taking the time! Go over to A Blog Named Hero for more inspiration and to enter the challenge!