Showing posts with label Studio Katia Iridescent Bubbles. Show all posts

Wednesday, August 22, 2018

Simon Says: Food and/or Drink

Happy Wednesday crafty friends that means it's time for a new Simon Says Stamp Wednesday Challenge!


This week Simon Says: Food and/or Drink! The design team is featuring Neat & Tangled products, you don't have to use them but if you have them we would love to see them! 


Come join in on the fun, you have the chance of winning a $50 gift card to the fantastic Simon Says Stamp store!


I decided to use the adorable Baking For Christmas set by Neat & Tangled for two reasons 1) it is too cute and 2) I have't done a critter scene in a while. I started by stamping my images on a piece of Neena 80lbs cardsctock and colored the critters and other elements with my Copic markers and die cut them with the accompanying dies.


I took another piece of Neena 80lbs cardstock and stamped the tree in the background from an Avery Elle stamp set and colored it in. I went over the panel with my MFT small stencil cloud and some Salty Ocean Distress Ink. Once that was complete I die cut the panel with my Mama Elephant Cloud Nine die as well as some Lawn Fawn Cilantro cardstock.

 I then used my Lawn Fawn grassy borders and cut the bottom and the top of the panel to layer my grass. I place my images and decided the bear needed a place to be anchored so I used a tree stump from a Lawn Fawn set.


I place all of my images on the panel and started gluing them with a  mix of foam tape and tape runner to offer different dimension.

I stamped the sentiment from the same Neat & Tangled set on a Pretty Pink Posh label die and placed it on the card with foam tape. I finished off the card with some Studio Katia Iridescent Bubbles.


Follow Simon Says Stamp on Instagram

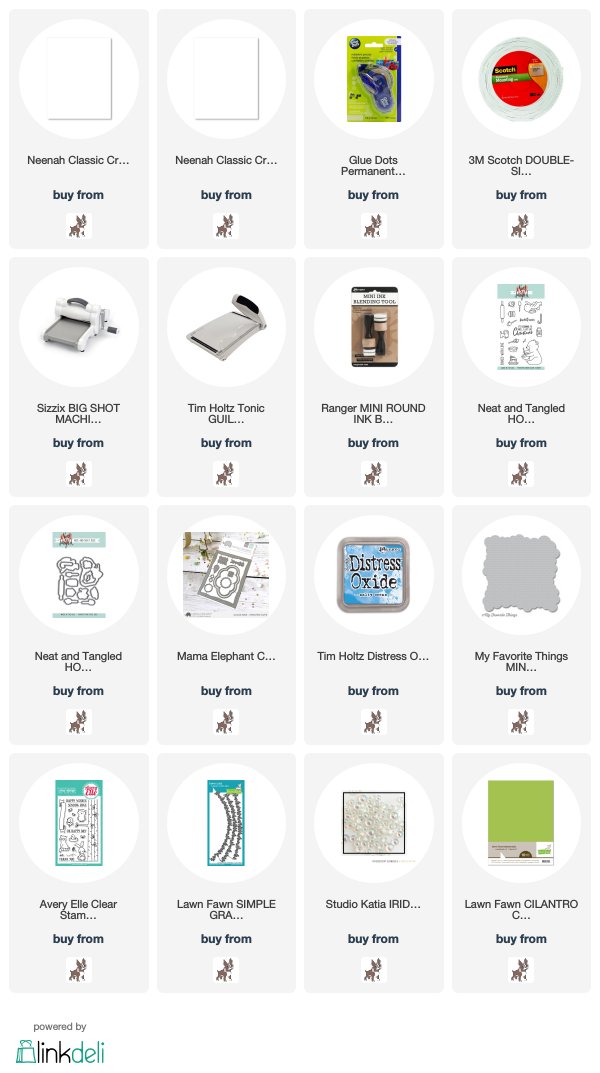
Products used are listed and linked below,
Thanks for taking the time!
Kim
Friday, April 27, 2018

April Showers Bring May Flowers!

Happy Friday! Time for a fun new challenge over at the CAS-ual Friday's Challenge Blog :) This week we are all about flowers!


I was inspired to use the Truth Is stamp set once more because it is my all-time fav. CAS-ual Friday's Stamp set.  Only I decided to play with ink smooshing this time.  I started by stamping my flowers and sentiment with Versafine Onyx Black Ink (in hindsight I should have waited and stamped them after I was done with my Oxide smooshing because the Oxides dull the black ink).  

On a piece of Bristol Smooth card stock, I used Picked Raspberry, Abandoned Coral and Squeezed Lemonade Oxide and a little of the Picked Raspberry Distress Ink only to intensify the pink (all applied with my stamp set backer acetate).  

I then added color to my flowers with my Zig Clean Color Brush Markers in coordinating colors. I then went over all of the black stamping with one of my 0.5 black markers to remove the filmy overlay that the Oxides left. I used my 1/2 inch corner chomper on two of the opposing corners. Added my panel to my Avery Elle grey card base.

I then added my Studio Katia Iridescent Bubbles and some Nuvo Black and White Crystal drops.


Join us at the CAS-ual Fridays Challenge blog for the chance to win $25 worth of CAS-ual Fridays Stamps and, drum roll please... Michelle with double the prize if you use CAS-ual Fridays stamps!


Thanks so much for taking the time!
Kim

Monday, April 23, 2018

Rainbow Turtle!

Happy Monday crafty friends! Spring has sprung - at least it finally has in Montreal! I decided to play with these sweet new MFT products for a fun rainbow project!


I used the Too Cute Turtles and A Tweet Hello for this project.  That turtle is too sweet! I stamped my images on Neena Solar White - 80lbs paper to use my Copic markers. Aside from the rainbow turtle, I also colored the butterflies in rainbow order. Once that was finished I used the accompanying die cuts.


I finally got my hands on the Pretty Pink Posh Peek-a-Boo die and I had to use it to feature the turtle. I die cut the white panel and I die cut the back of the pattern paper that I wanted to appear when the die was cut open.  I also die cut the pattern part with a circle die just to be able to glue it to the back of the panel with more ease. Before I opened and glued the Peek-A-Boo die I embossed the main panel with the We R' Memory Keepers 3D polka dot folder. I then cut open the Peek-a-Boo and placed the pattern paper on the back.


I placed my turtle and then adhered the panel to the base card with foam tape.  I then placed my other images along with my MFT Hooray die and the accompanying sentiment from the Too Cute Turtles :) To finish I added some Studio Katia Iridescent Bubbles!

Thanks for taking the time!
Kim

Friday, April 13, 2018

CAS-ual Fridays - Forget your Trebles!

Happy Friday crafty friends! That means it's time for a new CAS-ual Fridays Challenge! The challenge is all about forgetting your trebles!


What's better than a rainbow to forget your trebles, lol.  I started with the CAS-ual Fridays Heart Note Fri-die and die cut it from several colors of card stock. I decided to die cut a border from my top panel with a fun angle so that I could add some rainbow paper in the same tones as the Heart Note in the back. This was a fun and simple card to put together.


Once I placed my Neena 80lbs top panel I lined up my notes and glued them to the white card stock. I then die cut the Smiling Fri-Die and a StickIt and Fun Foam sandwich along with a back piece of card stock and placed it on top of the notes.  I added Nuvo Crystal Glaze and once it was dry added some white gel pen for highlights. To top off my project, I added some of the new Studio Katia Iridescent Bubble to pick up the rainbow colors.


Join us at the CAS-ual Fridays Challenge blog for the chance to win $25 worth of CAS-ual Fridays Stamps and, drum roll please... Michelle with double the prize if you use CAS-ual Fridays stamps!


Thanks so much for taking the time!
Kim