Showing posts with label My Favorite Things. Show all posts

Tuesday, April 23, 2019

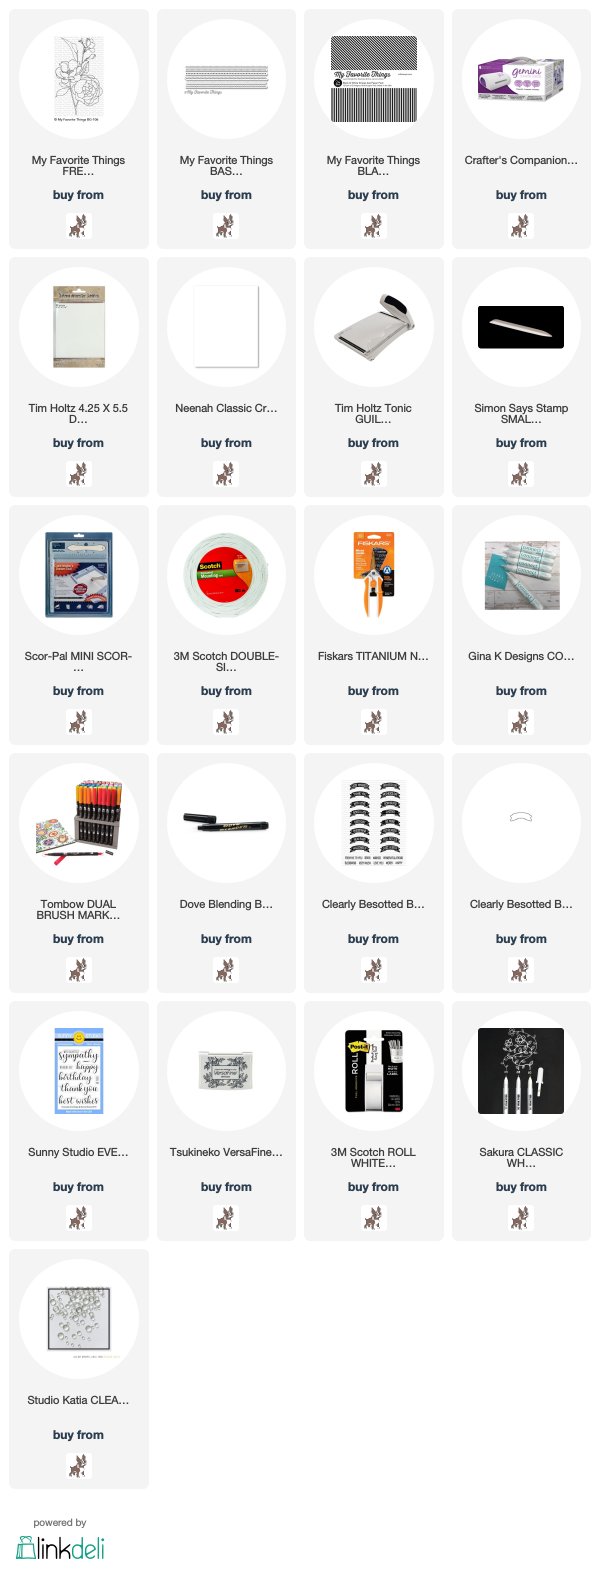
Mother's Day Flowers with MFT

Happy Tuesday! Hard to go back to work following a four-day weekend! I am sharing a Mother's Day card featuring this beautiful Fresh Cut Flowers cling stamp by My Favorite Things.


I had my Tombow markers out from my last card share and decided to color this gorgeous stamp with some no-line watercoloring and my Dove blender pen.


Once that was complete, I die cut the panel using MFTs Basic Stitch Lines on the sides and cut the panel down.  I added some MFT black and white stripes paper to the lefthand side. I used foam tape to place the colored panel on top.


The sentiments are a mix of Clearly Besotted and Sunny Studio, I liked the mix in fonts.  To finish off the card, I added some clear droplets.

Thanks os much for taking the time! All products used are listed and linked below, affiliate links used at no extra cost to you!
Kim


Monday, April 15, 2019

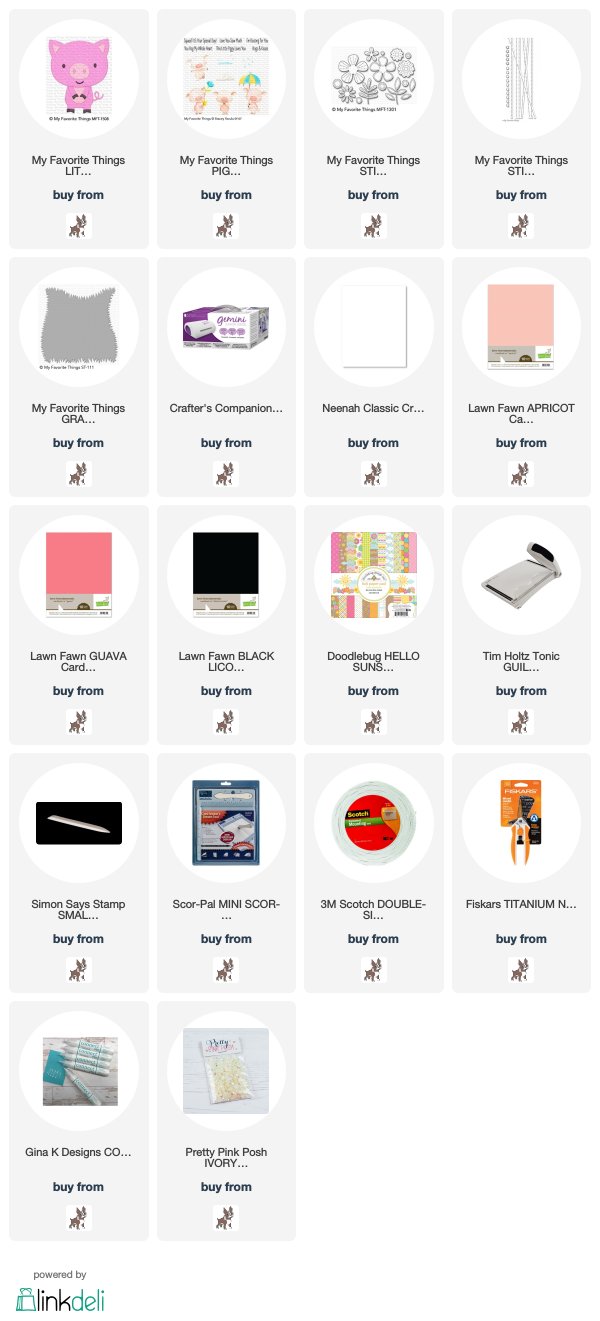
MFT sweet Little Piggy!

Happy Monday crafty friends! Have you seen the latest MFT release? It is so sweet! I had fun playing with the Little Piggy die-namics over the weekend.


I have always wanted a pet pig and one of these days it will become a reality, but for now I was temporarily mollified but this cutie! I started by die cutting my piggy from Lawn Fawn Apricot cardstock and ink-blended some pink ink around all the edges.

I also used pink cardstock for the ears and hand and feet cappers and guava cardstock for the flower on her head.    


I then added my grassy edges stencil with Mowed Lawn Distress Ink and decided to add the Die-namics Stitched Stripe for added texture to the edge of the panel.  I cut it down and chose some Doodlebug pattern paper for fun, who doesn't love a rainbow! 

I put all of my elements together and added a sentiment and a cloud from the new Stacy Yacula MFT stamps set.


To finish off, I added some Pretty Pink Posh Ivory Jewels and some candy hearts!

Thanks for taking the time! All products listed and linked below, affiliate links used at no xtra cost to you! Have a great week!

Kim


Friday, March 8, 2019

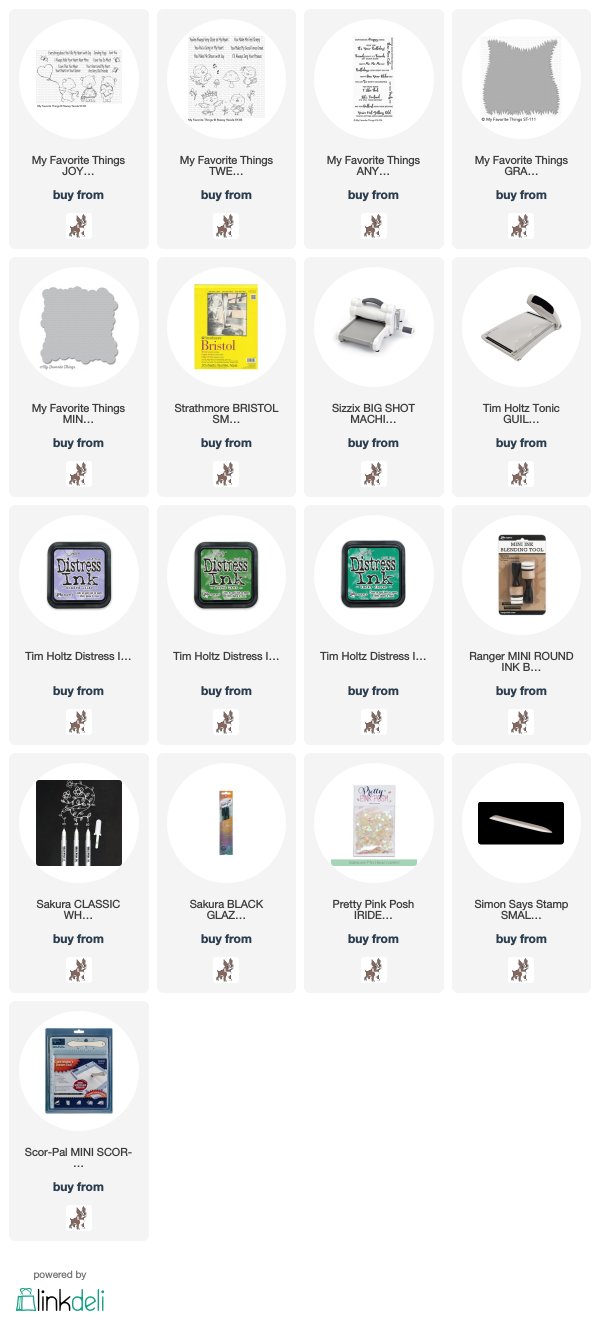
My Favourite Things Birthday Tri-Fold!

Happy Friday! So happy the weekend has arrived, it has been a super cold first week of March! But things are looking up as of this weekend!


For my project today, I decided to make a Tri-Fold card to be able to use as many of these fantastic MFT critters - Tweet Friends and Joyful Hearts Bears designed by Stacy Yacula. For this I took a piece of Bristol cardstock and cut it to 5.5 x 12 so that I could score both sides at 4 inches. By using Bristol, I decided to use my Zig Clean Color Real Brush Markers.


I stamped all of my images using my stamping tool, I decided to space everything accordingly so that I did not have to mask anything (although, masking would have been easy). I stamped and colored all of my images before stencilling my clouds and grass (both MFT stencils). I just find it so much simpler avoiding the images with the Distress ink and easier to properly stencil the blades of grass.


Once my scene was complete, I stamped my sentiments and added some extra grass blades with my green Zigs and scattered some Pretty Pink Posh hearts on the entire card. I am super happy with the way it turned out. I just love these images.

Thanks so much for taking the time! All products used are listed and linked below, affiliate links used at no extra cost to you!
Kim

Wednesday, January 23, 2019

Simon Says: Have a Heart!

Good morning crafty friends! It's Wednesday and that means it's time for a new Simon Says Stamp Wednesday Challenge!


This week Simon Says: Have a Heart! The design team is featuring My Favorite Things products, it isn't a requirement to use them but if you have them we would love to see them!

Come join in on the fun, you have the chance of winning a $50 gift card to the fantastic Simon Says Stamp store!


I made two projects for this challenge, I was having so much fun with the theme! I decided to use the fun new Tweet Friends for my first card, I started by colouring my images with my Copic markers and that is what decided the color theme for this project. Once that was done, I die cut a piece of Bristol Smooth cardstock with the MFT Mod Stitched Rectangle and blended some Blueprint Sketch and Shaded Lilac Distress Ink. I then used my Distress Sprayer for added effect. Once that was dry, I stamped my MFT Scattered Hearts Background using my Misti and some Oxide inks in the same colors (I felt the Oxides would show much more with the tone on tone colors).

Once that was dry, I die cut both the panel and a piece of Glitter paper using the MFT Linked Chain Circle die (I love this die). I then paper pieced the original pieces back into the glitter die cut (using scotch tape on the back of the die).


I took the inside circle and embossed my sentiments from the Hello, Beautiful stamp set and then glued the centre on the card base and then foam mounted the panel.  I die cut my Beautiful sentiment from the same glitter cardstock and the background in white glitter cardstock. 

I then placed my images in between both sentiments. I added some white hearts as a final detail!


My next project features products release last year by MFT, I started by embossing my sentiment from the Lovable stamp set. Once that was done, I made my own stencil using the Full of Hearts Die-namics die and ink blended a mix of Festive Berries and Candied Apple Oxide Inks.


I then stamped and colored my image from the You Make my Heart Melt set with Copic markers and used the accompanying die.  I placed my image on the panel with foam tape.


I felt the background needed a punch of red so I used my Lawn Fawn Quilted Backdrop die with some Chill Pepper card stock and glued that to the card base. I placed my panel on an angle and decided to use my Corner Chomper to mimic the corners on the panel (I did this for both cards) 

To finish off, I added some hearts in white and red.


Follow Simon Says Stamp on Instagram

Thanks so much for taking the time! All products used are listed and linked below, affiliate links used at no extra cost to you!
Kim

Monday, January 7, 2019

Birthday Snow Buddies

Happy Monday crafty friends. Sharing a fun birthday card featuring the Ready, Set, Snow stamp set by My Favorite Things!


These critters are the sweetest! I started by stamping and coloring my images with my Copics and used the accompanying dies.  I wanted to use the three of them on this card so I die cut my Neena panel with the largest Lawn Fawn Stitched rectangle (A2 size). 


I then took my MFT Hills and Drifts Stencil and some Salty Ocean Distress Ink and ink blended my slopes about 3/4 of the panel. I then used some Tumbled Glass Oxide Ink for the sky and added some snow using my Simon Says Stamp Falling Snow Stencil and some glitter paste for a light snow effect.

I decided on this fantastic Simon Says Stamp Happy Birthday die so I die cut it from Tonic Specialty Mirror card stock. I also die cut the bottom of the panel so I could inlay the die. 


I added my images to the panel using foam tape and added some gel pen detail on the eyes and the accessories.

This was a fun one to put together!
Thanks for taking the time, all products listed and linked below. Affiliate links used at no extra cost to you!
Kim


Monday, November 12, 2018

Fla la la la la la la mingo!

Happy Monday! For the first time in my professional life I have decided to take a well-deserved week off to myself in November! Yes and I am so happy. I signed-up for the new on-line card class and I will be able to participate in real time! I have some real crafty plans for the week!


I can't even with these MFT Festive Flamingos! I mean seriously adorable! I had such fun with this one and it was my maiden voyage with the new Festive Berries Oxide Ink (LOVE THAT COLOR)! 

I started by blending my background with Festive Berries, Abandoned Coral and Tattered Rose Distress Oxide Inks. I added some water with my Distress Sprayer for added effect. I then colored these beautiful Festive Flamingos with my Copics and used the accompanying dies.


I chose this beautiful Simon Says Stamp Exclusive Holly die with some Tim Holtz woodgrain cardstock, I love the added texture.  I adhered the background panel with foam tape for added dimension and then added some Christmas Red and Holly Stickles to the frame for added color.

I used foam tape for my Flamingos, and added some glossy accents, white blizzard and white Nuvo drops to the flamingos and the background.


I finished by embossing my sentiment with Rose Gold embossing powder on Tonic Scarlet Organza specialty paper and used an MFT banner die.

I do love the way it turned out! All products are listed and linked below affiliate links are used at no extra cost to you!

Thanks for taking the time!
Kim

Friday, November 2, 2018

Penguin wishes!

Happy Friday crafty friends! We have a rainy weekend in store for us in Montréal so I have decided to hibernate to my craft room! Woot! Who's with me?


I am in love with the new MFT Sweet Holiday Penguins stamp set! These images are so sweet, I will be making a series of Christmas cards using these for sure! I started by die-cutting my Neena 80lbs card stock using the larger of the Avery Elle Wonky Stitched rectangle die.  I then stamped my cutie penguin with Lawn Fawn Jet Black ink so that I could color with my Copic markers (all colors listed and linked below). 

I then used my stamp positioner (to re-stamp if needed) to stamp my sentiment from the Hand-Lettered Holiday Greetings also by My Favorite Things using Lawn Fawn Lobster ink.  


I felt the card was missing something so I added the berries and foliage also from the Hand-Lettered Holiday Greetings stamp set by MFT with the Lobster ink and Hero Arts Fresh Lawn ink. I added some snow flakes and sequins from the Hero Arts Snow and Berries pack and finished off the card with some white gel pen detail, glossy accents and Nuvo White Blizzard drops.

All products are linked and listed below, affiliate links used at no extra cost to you!
Thanks for taking the time!
Kim


Monday, October 22, 2018

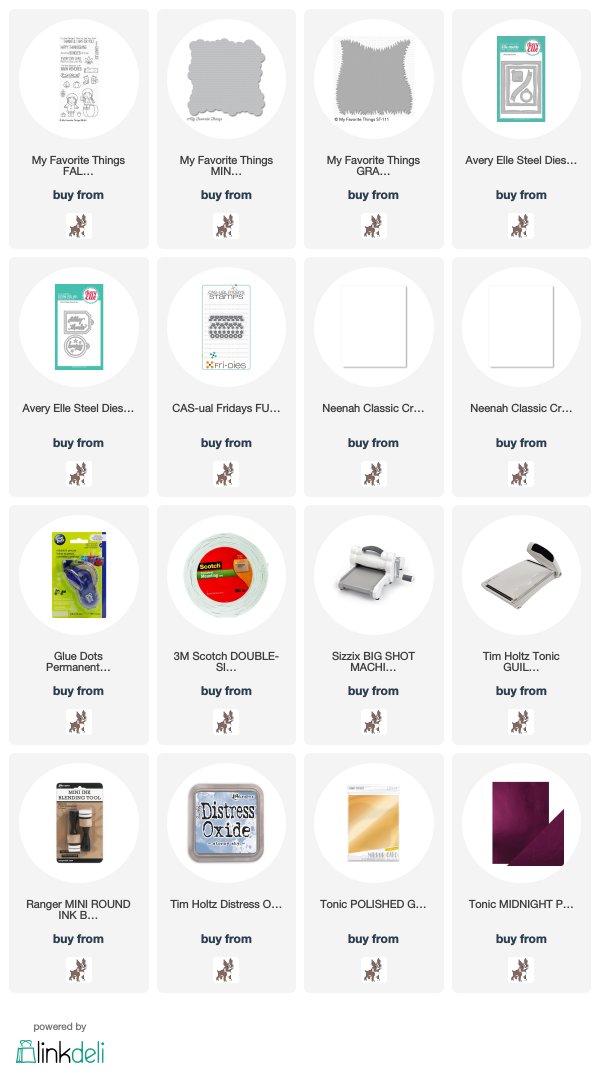
Fall scene with MFT

Happy Monday crafty friends. I am sharing a fall inspired card today using some MFT products!


I started with the gorgeous Fall Friends stamp set and lots o' masking! I just adore the two squirrels in the set, they are just too cute! 

I set up my scene first and then took out my stamping tool. I stamped all of the images on the forefront and stamped them again on full sticky PostIt notes and cut them out. I followed the same process until all of my images were stamped.


I colored everything with Copics markers. Once that was complete I took my Stencil Cloud also by MFT and some Stormy Sky Oxide ink. I inked over my background with a light hand making sure I didn't get any on my colored images. I did the same with the grass stencil and once that was complete I felt that I needed some more blades of grass so I added them in with my Copics.


For the sentiment, I used an Avery Elle thanks die with some gorgeous Tonic plum colored paper. I finished off the card with some white gel pen detail and some Fun-Fetti hearts by CAS-ual Fridays.

Thanks so much for taking the time! Have a great week!
Kim

Wednesday, October 10, 2018

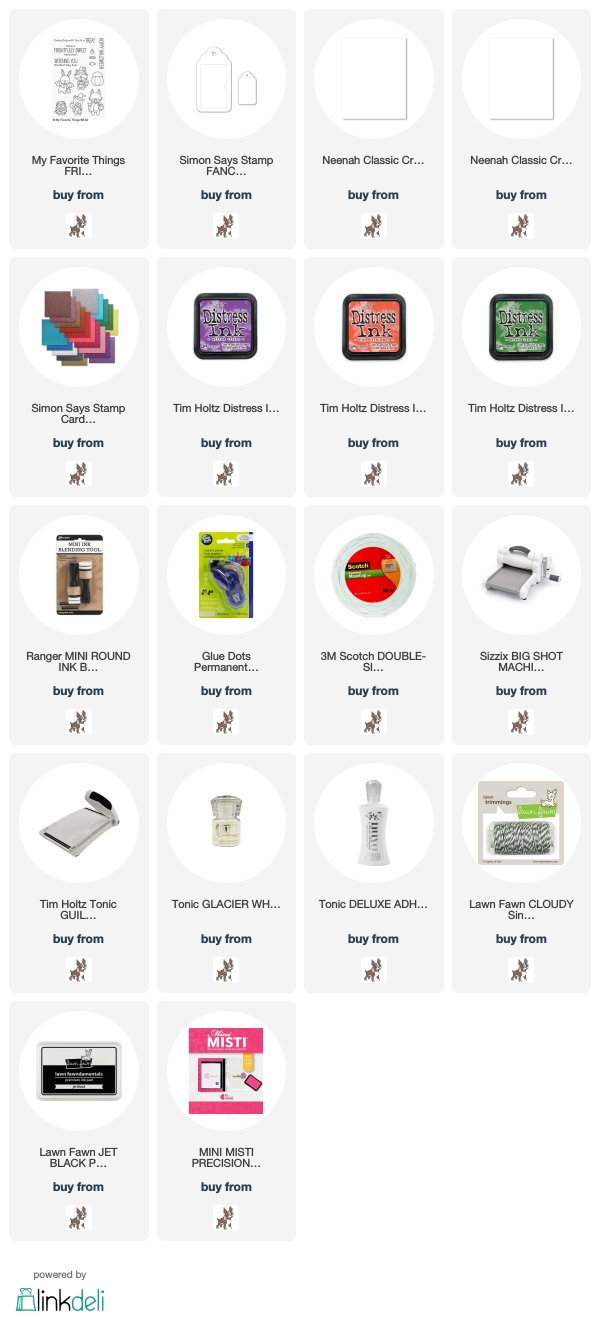
Simon Says: Anything But a Card!

Happy Wednesday crafty friends that means it's time for a new Simon Says Stamp Wednesday Challenge!


This week Simon Says: Anything But a Card! The design team is featuring My Favorite Things products, it isn't a requirement to use them but if you have them we would love to see them!

Come join in on the fun, you have the chance of winning a $50 gift card to the fantastic Simon Says Stamp store!


I had to use these sweet Halloween critters from the MFT Frightfully Sweet stamp set, I have been wanting to color these guys since I picked up this set last month. I die cut three tags with Neena 80lbs cardstock using the the Simon Says Stamp tag die. I then place my tags in my Mini Misti and stamped my images with Lawn Fawn Jet Black ink safe for Copic coloring.  Once that was complete I used Mowed Lawn, Ripe Persimmon and Wilted Violet Distress Inks to ink the edges of my tags in coordinating colors.

I then die cut three more tags out of Simon Says Stamp Glitter paper in the same color families to add to the back and offset the white tag.


I used the smaller tag from the same Simon Says stamp die set and die cut regular cardstock so that I could white emboss my "Boo!" sentiment and add it to the top of the tag with some Lawn Trimmings twine. These are going to be fantastic to add to Halloween treat bags! 


Follow Simon Says Stamp on Instagram

Products used are listed and linked below,
Thanks for taking the time!

Kim


Friday, June 29, 2018

Party Like a Flock Star!

Happy Friday crafty friends! My post today features the fantastic new Toucan Do It stamps and dies by My Favorite Things. I mean seriously leg-warmers? Too sweet!


I started with my base panel and some Salty Ocean Distress Oxide Ink in the middle of the panel in an oval formation with my ink blending tool. I then sprayed the area with my Distress sprayer for texture and since it is a Neena 80lbs panel the effect is faint. 

I then used the new Heffy Doodle Unbeleafable stencil and selectively blended certain leaves from the full stencil on the sides and top and bottom with a mix of Cracked Pistachio and Lucky Clover Distress Oxide Inks. 


I stamped my leaves from the Toucan Do It stamp set with the same Cracked Pistachio and Lucky Clover Oxide Inks with the "rock and roll" technique to avoid harsh lines (Distress Oxide Inks stamp like a dream!) 

I stamped my bird with Lawn Fawn Jet Black Ink (my go-to Copic friendly ink). I started with the rainbow feathers and the bandana. I then colored the bird and beak. I used the accompanying Die-Namics. I used Nuvo white embossing powder and Lawn Fawn Black cardstock for the sentiment.


I flat glued the leaves to the panel and used foam tape for the bird and the sentiment stripes. I added white Gellyroller accents to the eye, nose and bandana once that was dry I went over the beak and eye with Nuvo Crystal Glaze. I also added some pink Stickles to the bandana and the leg warmers.

I finished everything off with some Sparkling Clear sequins by Pretty Pink Posh. All of the products used are listed and linked below!

Thanks for taking the time have a great weekend! It's a long weekend here in Canada to celebrate Canada Day! 

Kim