Showing posts with label Distress Oxide Inks. Show all posts

Wednesday, January 9, 2019

Simon Says: Card and Matching Envelope!

Good morning crafty friends! It's Wednesday and that means it's time for a new Simon Says Stamp Wednesday Challenge!


This week Simon Says: Card and a Matching Envelope! The design team is featuring We R Memory Keepers products, it isn't a requirement to use them but if you have them we would love to see them!

Come join in on the fun, you have the chance of winning a $50 gift card to the fantastic Simon Says Stamp store!


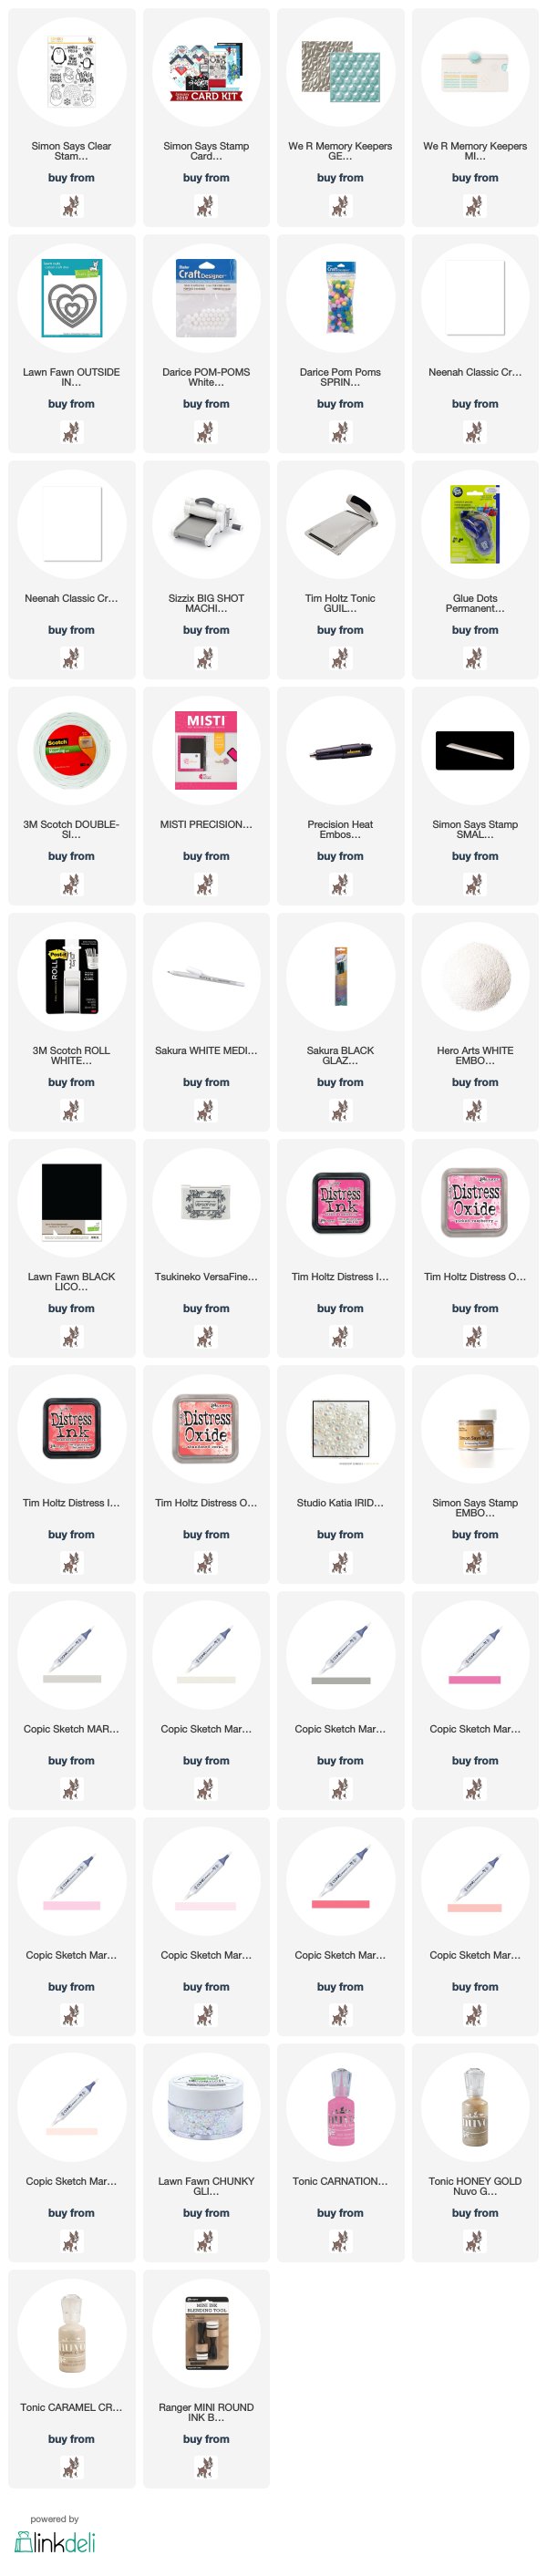
For my card and envelope I chose to use the We R Memory Keepers Envelope Punch Board and the new Gemstone 3D embossing folders.  I love the 3D embossing folders they offer such great dimension and texture. The envelop punch board is great because when used with heavy weight card stock the weight and sturdiness of the envelope make for very easy mailing and it protects the card.

To pair with these products, I dug into my Simon Says Stamp January Card Kit (there are still some complete kits available) I linked to the kit below and I also provided the separate product links.


I started by ink blending my Picked Raspberry and Abandoned Coral Distress INKS (not Oxide) on my background (I still prefer to blend with the Inks) and sprayed with my Distress Sprayer. Once that was dry, I die cut my Stitched Lawn Fawn heart and embossed the background panel. 

I then stamped my snowperson and coloured with my Copics and fussy cut. I added one of the Pink Pom Poms from the kit (by Darice) and some Lawn Fawn Chunky Glitter to the hat.

To stamp my sentiment and snow flakes from the same stamp set, I used a mix of Distress Oxide (I love stamping with these) and some Simon Says Stamp Antique Gold embossing powder.


I placed my panel on the base using Foam tape and added my snow person, some Studio Katia Iridescent Bubbles and a mix of Nuvo glitter and crystal drops.

For the envelope, I made an A2 size from heavy weigh card stock, stamped a few snowflakes on the flap and embossed the flap with the same embossing folder.


Follow Simon Says Stamp on Instagram

Thanks for taking the time and come join the fun! Affiliate links used at no extra cost to you!
Kim :)


Wednesday, December 12, 2018

Simon Says: Christmas!

It's Wednesday crafty friends and that means it's time for a new Simon Says Stamp Wednesday Challenge!


This week Simon Says: Christmas! The design team is featuring Creative Expressions products, it isn't a requirement to use them but if you have them we would love to see them!

Come join in on the fun, you have the chance of winning a $50 gift card to the fantastic Simon Says Stamp store!


I had such fun with this scene! I started by ink blending my Peacock Feathers, Chipped Sapphire and Black Soot Distress Inks on a piece of 80lbs Neena Solar White. I then sprayed my panel with shimmer spray and set it aside to dry.


I then stamped my images from the Mama Elephant Santa's Sleigh and coloured them with my Copics. I then used the accompanying dies, I added some diamond glitter to the sleigh, snow marker to my Santa and Christmas red tickles to the big reindeer's nose. I added my gold ribbon and attached my images with foam tape onto the base panel.


I die cut the beautiful Jingle Bells script from Creative Expressions from black glitter cardstock and placed it on the panel. To finish off my card, I added some jingle bells and a mix of Hero Arts sequins on the background.


Follow Simon Says Stamp on Instagram

Products used are listed and linked below, affiliate links used at no extra cost to you!
Thanks for taking the time!


Kim :)

Wednesday, December 5, 2018

Simon Says: Wrap It Up!

It's Wednesday crafty friends and that means it's time for a new Simon Says Stamp Wednesday Challenge!


This week Simon Says: Wrap It Up! The design team is featuring Tim Holtz products, it isn't a requirement to use them but if you have them we would love to see them!

Come join in on the fun, you have the chance of winning a $50 gift card to the fantastic Simon Says Stamp store!


I decided to use the Mini Halftones by Tim Holtz for my gift bag today. I love these images and the "shadow" effect they offer.  I started by die cutting my Mama Elephant gift bag from Neena 110lbs cardstock.  I then stamped out all of my elements using PostIt tape to mask off the sides with Simon Says Stamp Smoke ink for the shadows and both Versafine Onyx black (snowman) and Lucky Clover Oxide (trees)


I then stamped various snowflakes and embossed them with Simon Says Stamp silver embossing powder. Once that was done, I used Evergreen Bough Distress Ink and lightly blended it on the background.  I added some Cool Grey Copic shading to the bottom of my images.

I then added Nuvo drops (all colors listed and linked below) to my trees and the snowman.


I stamped the snowflake (Evergreen Bough Oxide and sentiment from the mini halftones on one of the Tim Holtz Wood Slices and added that with a Lawn Fawn stitched snowflake tag to the top of my bag.

To finish off I added some red tissue paper. I love these typed of bags, they are perfect for a small gift or gift card!


Follow Simon Says Stamp on Instagram

Products used are listed and linked below, affiliate links used at no extra cost to you!
Thanks for taking the time!


Kim :)

Monday, November 12, 2018

Fla la la la la la la mingo!

Happy Monday! For the first time in my professional life I have decided to take a well-deserved week off to myself in November! Yes and I am so happy. I signed-up for the new on-line card class and I will be able to participate in real time! I have some real crafty plans for the week!


I can't even with these MFT Festive Flamingos! I mean seriously adorable! I had such fun with this one and it was my maiden voyage with the new Festive Berries Oxide Ink (LOVE THAT COLOR)! 

I started by blending my background with Festive Berries, Abandoned Coral and Tattered Rose Distress Oxide Inks. I added some water with my Distress Sprayer for added effect. I then colored these beautiful Festive Flamingos with my Copics and used the accompanying dies.


I chose this beautiful Simon Says Stamp Exclusive Holly die with some Tim Holtz woodgrain cardstock, I love the added texture.  I adhered the background panel with foam tape for added dimension and then added some Christmas Red and Holly Stickles to the frame for added color.

I used foam tape for my Flamingos, and added some glossy accents, white blizzard and white Nuvo drops to the flamingos and the background.


I finished by embossing my sentiment with Rose Gold embossing powder on Tonic Scarlet Organza specialty paper and used an MFT banner die.

I do love the way it turned out! All products are listed and linked below affiliate links are used at no extra cost to you!

Thanks for taking the time!
Kim

Sunday, September 23, 2018

Hello Fall with Hello Bluebird!

Happy Sunday! I am not sure when it happened but I woke up one day this week put my dogs out and bam, I realized it was fall! Don't get me wrong I love fall, I actually think it's my favorite season. The only problem with it is that winter in next! LOL!


So, I was inspired to make a fall themed card using the sweet Hello Bluebird Moose and Friends stamp set along with the Tropical Foliage dies (yes, I know, they are tropical leaves but I wanted to use them anyway!) I used my Distress Oxide Inks on a piece of Bristol to make my fall colors and I die cut my tropical leaves from that panel.


I stamped and colored my images with my Copic Sketch markers and added some white gel pen for added detail. Once that was all done I die cut my Neena 80lbs panel using my favoured Avery Elle Wonky Stitched Rectangle die.


Before adhering my leaves and images, I added some Salty Ocean Oxide Ink in the centre and sprayed some water using my Distress Sprayer. Once that was dry I stamped my sentiment (collaboration set with Simon Says and Neat and Tangled from last years STAMPtember).

I put everything together and added some Pretty Pink Posh Sparkling clear sequins! 
Thanks for taking the time, all of these products can be found at Simon Says Stamp!
Kim

Wednesday, July 25, 2018

Simon Says: Anything Goes featuring: Art Impressions

Happy Wednesday crafty friends that means it's time for a new Simon Says Stamp Wednesday Challenge!

Before we get to this weeks fun challenge have you seen the Summer Kids Challenge going on now! The theme is Anything Goes with Sparkle! Click the link above or the logo below for more details!


Encourage your younger loved ones to enter for a chance to win one of three grab bags! This challenge is such fun!


This week Simon Says: Anything Goes! The design team is featuring Art Impression products you don't have to use them but if you have them we would love to see them! 


Come join in on the fun, you have the chance of winning a $50 gift card to the fantastic Simon Says Stamp store!


For my project I chose the Dog Mouthfulls set by Art Impressions, I mean look at that face! I love this line by Art Impressions they come with different accessories and the matching dies. I decided on the gift as the pups accessory as this card will be for my Dad's 75th birthday from my dogs!


I started by stamping my images on Neena 80lbs cardstock so that I could Copic color the dog, gift, party hat and dog bone. I used the accompanying dies and fussy cut the puppy. I then die cut my background panel with the largest die from the Mama Elephant Cloud Nine die set. I decided to use the Tim Holts Brick stencil with a mix of Antique Linen and Gathered Twigs Distress Oxide Ink.


 I masked off the brick near the bottom and used Black Soot and Hickory Smoke Distress Oxide Ink for the ground. I sprayed the panel with my Distress Sprayer and blotted the excess water. Once the panel was dry, I stamped my sentiment and added the "s" by hand well, because, I have two pups lol


I put my card together and used an action wobble for my dog! I added some Nuvo Crystal Glaze and some white gel pen detail and topped off my party hat with a pom pom from my stash!

ll of the products are listed and linked bellow!


Follow Simon Says Stamp on Instagram


Thanks for taking the time!
Kim


Sunday, July 22, 2018

MFT Beach Buds

Happy Sunday crafty friends! I am currently on vacation and therefore posting at odd times lol! Had some time this morning so I am sharing this one layer three panel card featuring MFT Stamps, Distress Oxide Inks and Zig Clean Color Real Brush Markers.


I started by cutting my Bristol Smooth Cardstock to 5.5 x 12 and marked at 4 inches on the longest side.  I then stamped all of my images on the panel as well as on masking paper. I cut all of my masks and placed them on my fish. I masked the bottom of the ocean with PostIt tape and then used the Hero Arts Waves stencil with a mix of Salty Ocean, Peacock Feathers and Wilted Violet Distress Oxides. I removed the stencil and went over the panel again with the same inks but with a light hand to soften the background.


I used my Distress Sprayer to add some fun texture and it also added to the "water" feel.  I then removed the mask for the bottom and place it where the ocean meets the "floor" and used Gathered Twigs and Antique Linen Ditress Oxide Inks. Once the inking was all done I used my Zig Clean Color Real Brush Markers and colored all of my images.


Once all of that was complete I white embossed the fish bubbles and took away some of the color in the centres with my water brush. To make the look a little more dimensional I added Nuvo Crystal Glaze to the bubbles. I chose the MFT Hooray die with a mix of black cardstock and Simon Says Stamp Teal Glitter cardstock. I scored my lines at four inches with my Score-pal and folded it over. I finished off the project with some white gel pen detail.

All of the products used are linked and listed below!
Thanks for taking the time!
Kim

Friday, June 29, 2018

Party Like a Flock Star!

Happy Friday crafty friends! My post today features the fantastic new Toucan Do It stamps and dies by My Favorite Things. I mean seriously leg-warmers? Too sweet!


I started with my base panel and some Salty Ocean Distress Oxide Ink in the middle of the panel in an oval formation with my ink blending tool. I then sprayed the area with my Distress sprayer for texture and since it is a Neena 80lbs panel the effect is faint. 

I then used the new Heffy Doodle Unbeleafable stencil and selectively blended certain leaves from the full stencil on the sides and top and bottom with a mix of Cracked Pistachio and Lucky Clover Distress Oxide Inks. 


I stamped my leaves from the Toucan Do It stamp set with the same Cracked Pistachio and Lucky Clover Oxide Inks with the "rock and roll" technique to avoid harsh lines (Distress Oxide Inks stamp like a dream!) 

I stamped my bird with Lawn Fawn Jet Black Ink (my go-to Copic friendly ink). I started with the rainbow feathers and the bandana. I then colored the bird and beak. I used the accompanying Die-Namics. I used Nuvo white embossing powder and Lawn Fawn Black cardstock for the sentiment.


I flat glued the leaves to the panel and used foam tape for the bird and the sentiment stripes. I added white Gellyroller accents to the eye, nose and bandana once that was dry I went over the beak and eye with Nuvo Crystal Glaze. I also added some pink Stickles to the bandana and the leg warmers.

I finished everything off with some Sparkling Clear sequins by Pretty Pink Posh. All of the products used are listed and linked below!

Thanks for taking the time have a great weekend! It's a long weekend here in Canada to celebrate Canada Day! 

Kim