Wednesday, October 28, 2020

Simon Says: Anything Goes featuring Stampendous!

Hello crafty friends! It's Wednesday and that means it's time for a new Simon Says Stamp Wednesday Challenge! 


This week Simon Says: Anything Goes! We are featuring Stampendous products it isn't a requirement to use them but if you have them we would love to see them!


Come join in on the fun, you have the chance of winning a $25 gift card to the fantastic Simon Says Stamp store!


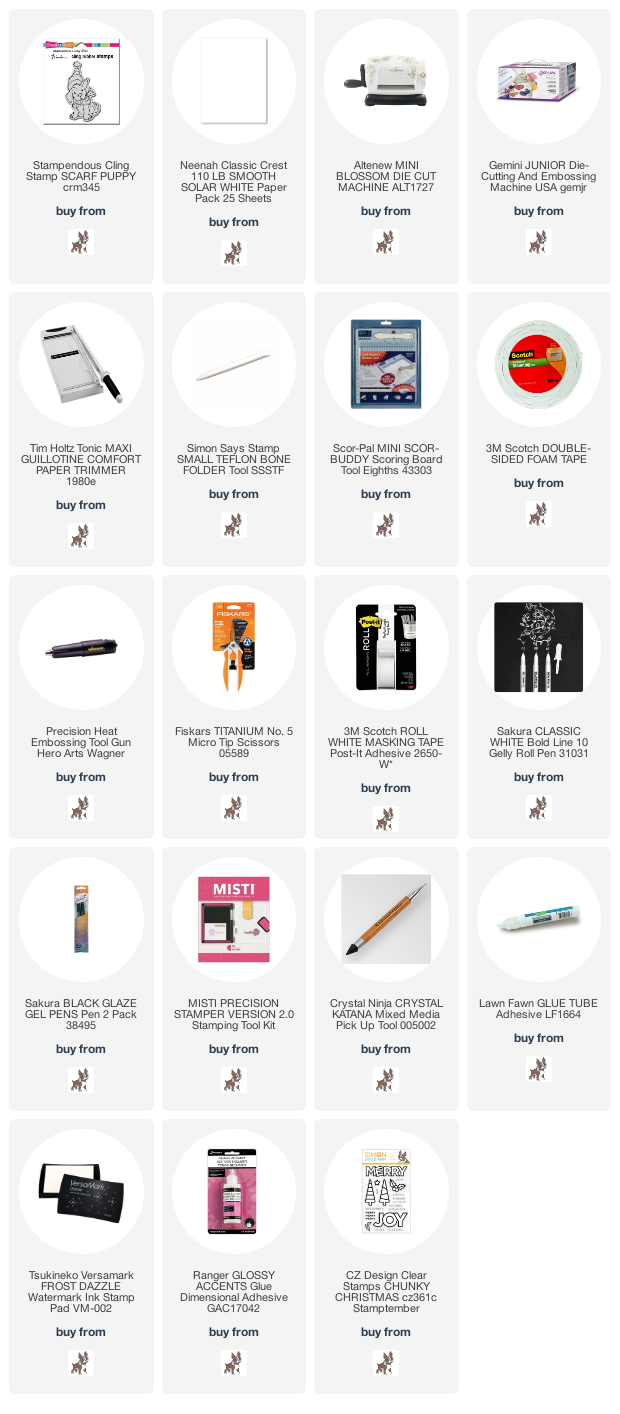
Any of you that follow me will know that I love to stamp and color anything dog related :) So, this was a fun card for me to put together.

I stamped my dog in the centre of the panel and before coloring, I took my falling snowflake embossing folder with a Tim Holtz debossing cover plate that leaves the centre oval flat.


I colored my pup with my trusty Copic markers and added some white gel pen detail and trimmed my panel so that I could add some of this super fun Brutus Monroe pattern paper to the background.

I die cut my Simon Says Stamp Christmas die from Tonic Nuvo glitter paper and fun foam put it together and glued it to the panel.


For my secondary sentiment I took a Lawn Fawn speech bubble die and white embossed the sentient to pair with the dog.

To finish off, I added Sparkling Clear Sequins some holly and Glossy Accents.


Follow Simon Says Stamp on Instagram


Thanks for taking the time, products used are listed and linked below! Affiliate links used at no extra cost to you :)

Kim


Monday, October 26, 2020

There is Snow-One Like You!

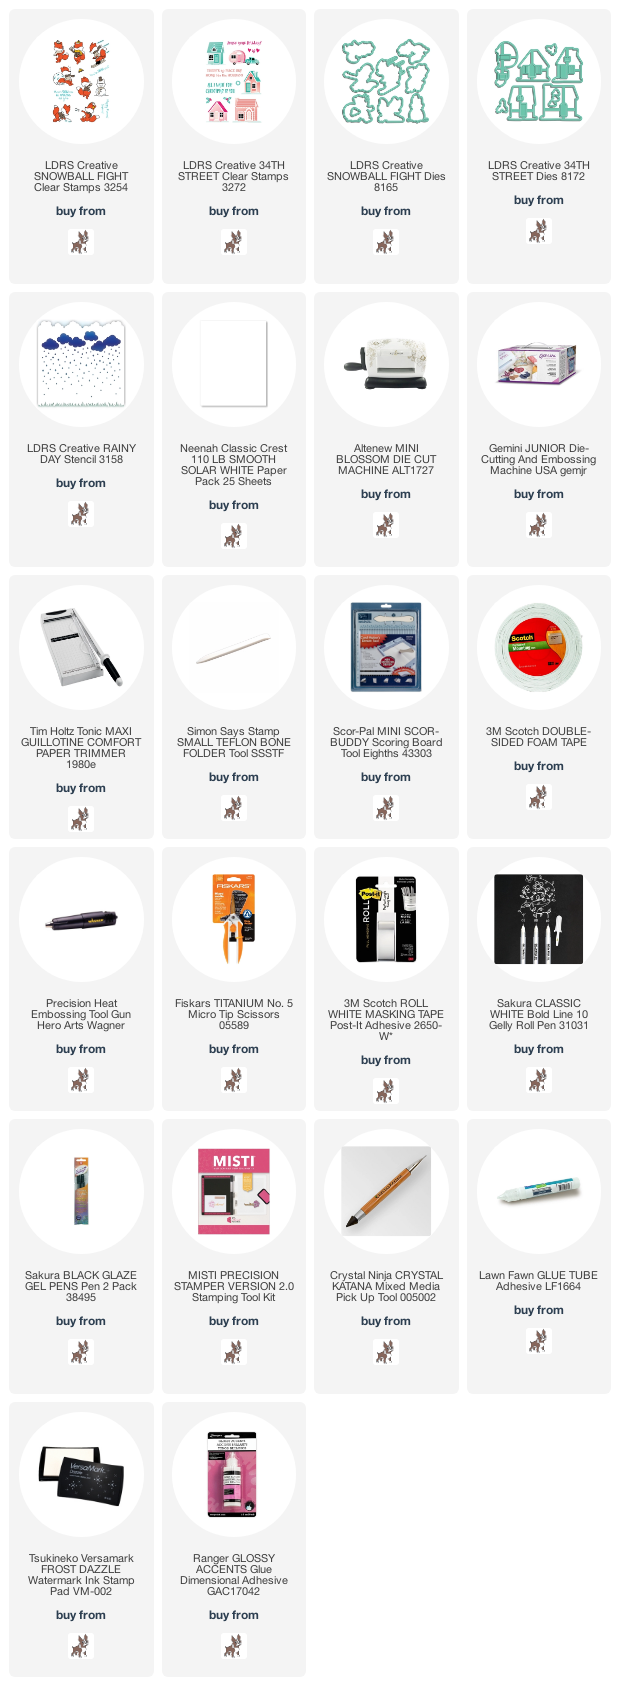
Happy Monday crafty friends! I am over at the LDRS blog sharing a winter scene card using some amazing new products!


I love a scene card especially for winter/Christmas! I used both the new 34th Street clear stamp and die sets and the new Snowball fight clear stamp and die sets for this card.


I started by building my background using the Rainy Day 6 x 6 Stencil and lightly inking my clouds. I hand cut a piece of masking paper and inked my "hills."

I stamped all of my images and colored them in and used the accompanying dies.  I decided to add some glitter and "snow" from my stash on the "hills" before adding my images.


Once that was complete, I added my images using foam tape. I decided on a fun sentiment from he Snowball Fight stamp set and white embossed it on red cardstock and fussy cut it and added it to the card.

I finished off my card by adding white gel pen detail and glitter glue to the images.

Thanks so much for taking the time! Products used are linked above! Have a great week :)

Kim 


Wednesday, October 21, 2020

Simon Says: Layer It Up!

Hello crafty friends! It's Wednesday and that means it's time for a new Simon Says Stamp Wednesday Challenge! 


This week Simon Says: Layer It Up! We are featuring Paper Rose products it isn't a requirement to use them but if you have them we would love to see them!


Come join in on the fun, you have the chance of winning a $25 gift card to the fantastic Simon Says Stamp store!


I had such fun making this card, it's for a dear friend whom I have known since we were five and started Kindergarten together and she has a Birthday next week!  My Magnolia Bloom was the inspiration and pairing it with this Whimsy Stamp rainbow paper just started the ball rolling.

I die cut my bloom from the pattern paper and some Sugar Crystal Tonic Glitter paper, glued it together and set it aside.


For my off-white panel, I used a rainbow array of Dina Wakley paints (listed below) with a bit of water and added some "splats" to match the pattern paper. I die cut the bigger Pink Fresh slimline die from pink cardstock and added all of the elements to my card base. 

I die cut the Pink Fresh Beautiful from Simon Says Stamp magenta glitter paper and black fun foam. I then white embossed my secondary sentiment and added them both to the card.  To finish off, I added some Icy Sparkle Crystals from Studio Katia.


Follow Simon Says Stamp on Instagram


Thanks for taking the time, products used are listed and linked below! Affiliate links used at no extra cost to you :)

Kim

Monday, October 19, 2020

Have a Bonzer Day!

Happy Monday crafty friends! I have wanted this Whimsy Stamps Aussie Friends Stamp set since its release but it kept selling out! Finally managed to get my hands on it and I just had to ink it :) 


I am not sure if there even is a die set for this but I don't have it if there is, so I did some masking which was easy enough with the shape of the leaves. I stamped the adorable Quokka (I think) and created a mask then stamped my leaves behind him.

Removed the mask and coloured everything with my Copic markers. I die cut the panel using a Lawn Fawn Stitched Border die and trimmed the sides.


I chose a ModaScrap pattern paper that I love and die cut it the using a Lawn Fawn Stitched Rectangle. I felt the background needed a little something more so I took some Washi from my stash added that to the card base.

I also took some green twine and wound it to the top of the panel and tied a bow.


I stamped my sentiment from the same set and die cut it using a banner die and added it to the panel with foam tape. I added fun foam to the back of the panel and added it to the card base.

To finish off, I added white gel pen detail and some Sparkling Clear sequins!

Thanks so much for taking the time, products used are listed and linked below. Affiliate links used at no extra cost to you!
Kim

Wednesday, October 14, 2020

Simon Says: Make a Card & Envelope

Hello crafty friends! It's Wednesday and that means it's time for a new Simon Says Stamp Wednesday Challenge! 


This week Simon Says: Make a Card & Envelope! We are featuring always amazing Simon Says Stamp products it isn't a requirement to use them but if you have them we would love to see them!


Come join in on the fun, you have the chance of winning a $25 gift card to the fantastic Simon Says Stamp store!


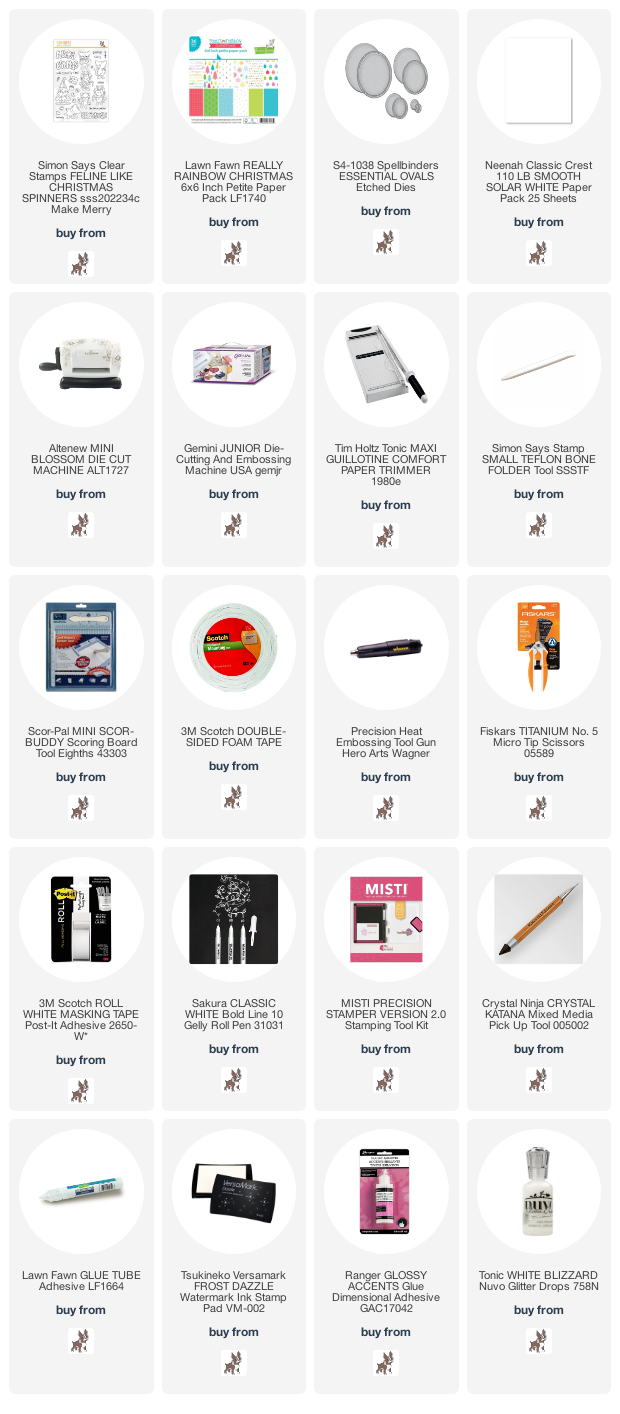
This is the sweetest stamp set from the new Make Merry release by Simon Says Stamp, I just love it!  I stamped and masked my cat and then stamped my tree. I colored my images (including the Christmas from the same stamp set) in with my trusty Copic markers :)


I die cut my Lawn Fawn pattern paper using a Spellbinders oval and added it to my card base using foam tape. I then added my insert also die cut with the same oval using some glue runner.


I fussy cut my sentiment and embossed my secondary sentiment using some red glitter embossing powder and added them to the panel.

To finish off, I added white gel pen detail, some White Blizzard Nuvo Glitter and some Studio Katia gems!


Follow Simon Says Stamp on Instagram


Thanks for taking the time, products used are listed and linked below! Affiliate links used at no extra cost to you :)

Kim


Friday, October 9, 2020

Simon Says Stamp Make Merry!

 Happy Friday crafty friends! Have you seen the amazing new Simon Says Stamp Make Merry release! I LOVE this release!


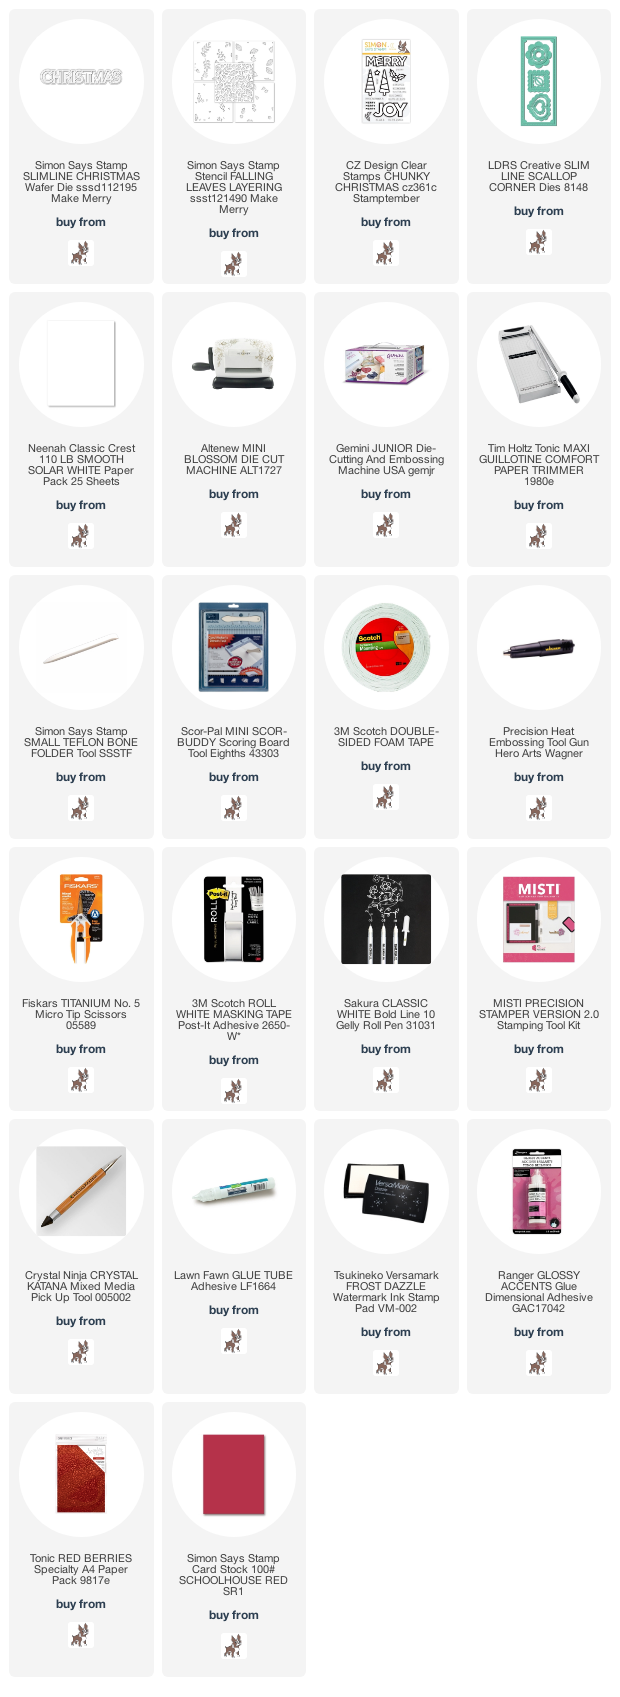
For my card I got to play with the Slimline Christmas die and the Falling Leaves Layering Stencil.


This card was quick and fun to make.  I did some selective stencilling and layered two of the stencils from the pack of four with a mix of inks.

I then die cut my Christmas with some red glitter paper and pattern paper from the Brutus Munroe Candy Stripe paper pack from last year. I put my die cut together and added it to my panel using foam tape. I white embossed my Very Merry from the Chunky Christmas set released last month by Simon Says stamp and added it with foam tape as well.


To finish off, I added some Sparkling Clear Sequins 

Thanks so much for taking the time! Products used are listed and linked below, affiliate links used at no extra cost to you!
Kim


Wednesday, October 7, 2020

Simon Says: Make It Sparkle!

 Hello crafty friends! It's Wednesday and that means it's time for a new Simon Says Stamp Wednesday Challenge! 


This week Simon Says: Make It Sparkle! We are featuring Stamping Bella products it isn't a requirement to use them but if you have them we would love to see them!


Come join in on the fun, you have the chance of winning a $25 gift card to the fantastic Simon Says Stamp store!


I stamped and masked my images on my panel and coloured them in with my Copic markers.  I ink blended my background using Distress Inks and then die cut using a Rounded Rectangle die.


I stamped my sentiment from the Simon Says Stamp Be A Mermaid stamp set and placed my panel at an angle on my card base.


I added some Lawn Fawn Chunky glitter to her mermaid tail. Some Nuvo gold glitter and white blizzard glitter to certain elements in my scene. Then added white gel pen and some Studio Katia Iridescent Bubbles to finish off!


Follow Simon Says Stamp on Instagram


Thanks for taking the time, products used are listed and linked below! Affiliate links used at no extra cost to you :)

Kim

Tuesday, October 6, 2020

Merry & Bright Santa!

Happy Tuesday crafty friends! It's that time where the holiday everything starts showing up in paper crafts! I love this time of year! 


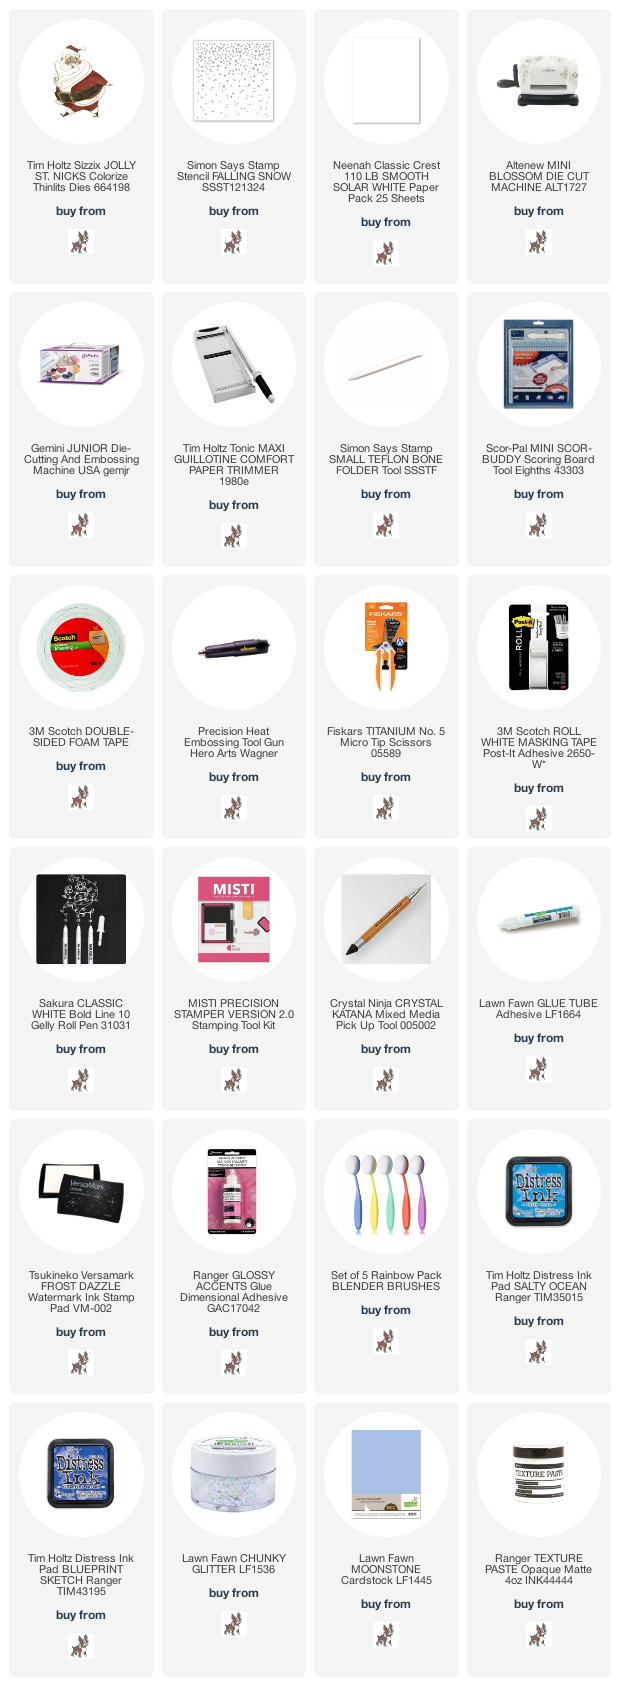
I purchased the snowman like this by Tim Holtz last year, I couldn't resist the Santa for this year. I won't lie, they are a little long to put together with all the coding on the dies but SOOOOO worth the result, in my opinion.


I put him together and set him aside to work on my panel. I took a piece of light blue Lawn Fawn cardstock and ink blended Salty Ocean and Blueprint Sketch on the background.  I took my Simon Says Stamp Snowy Background stencil and added white texture paste. I set it aside to dry.

The pattern paper is from a Brutus Monroe paper pack that was released last year that I love. I cut two strips for the sides.


Once everything was dry, I put my card together using glue and foam tape. I added chunky glitter to the Santa suit and some Honey Bee snowflakes to the background. To finish off, a pom pom on the Santa's hat!

Thanks so much for taking the time! Products used are listed and lined below, affiliate links used at no extra cost to you!
Kim