Wednesday, May 30, 2018

Simon Says: Anything Goes!

Happy Wednesday crafty friends! That means time for another fun Simon Says Stamp Wednesday Challenge! 


Simon Says: Anything Goes! 


The design team is featuring Doodlebug products this week! I mean when you are using Doodlebug products a rainbow is in order!


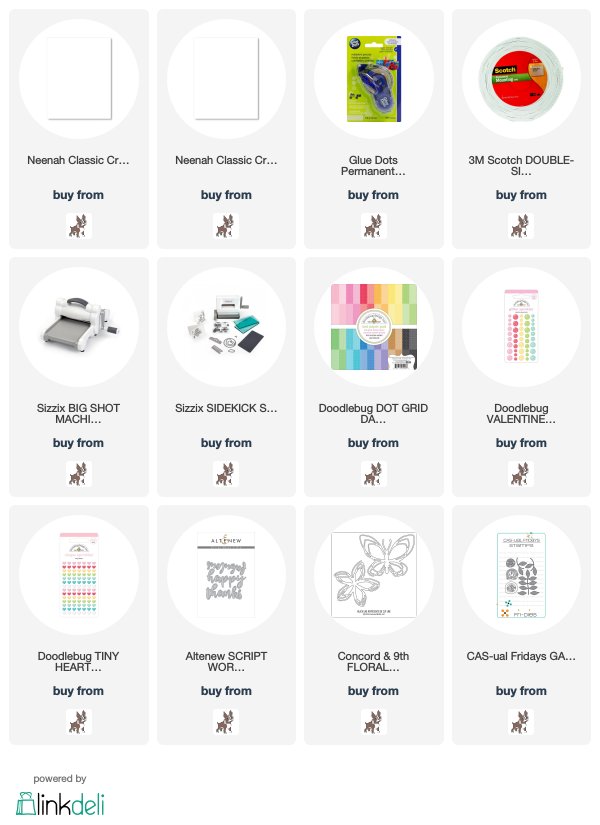
I chose the Dot Grid Daisy Stripe 6 x 6 paper pack. I took the Daisy pattern in all of the colors and cut small strips of paper.  I then used a piece of Neena 80lbs card stock and started glueing my pieces in rainbow order on the panel.


I die cut the panel using my Wonky Stitched Rectangle die. With all of that color I felt that white would be the best for my die cut sentiment and flowers. So I used my Tonic White Glitter paper and die cut the Altenew Fabulous sentiment and my Concord and 9th flower along with two of the CAS-ual Fridays flower dies. All of the products used are listed and linked below.


I added some Avery Elle sub-sentiments and finished it all off with some Doodlebug Glitter Sprinkles. I used foam tape to place my base panel on the Neena 110lbs card base! Come join in the fun at the Simon Says Stamp Wednesday Challenge for a chance to win a $50.00 gift voucher.


Thanks for taking the time! 
Kim


Monday, May 28, 2018

Celebrate with MFT and Doodlebug

Happy Monday crafty friends! I was away for work and back yesterday and I needed to unwind so I pulled out my MFT Bold Blossom stamp set and decided to play!


My inspiration for this project was the gorgeous Dooblebug pattern paper! Polka dots are my absolute favorite and this paper had my little heart go pitter patter. 


I started by stamping my MFT flowers with a mix of Catherine Pooler inks that matched the colors of the pattern paper and die cut them with the coordinating dies. 


I decided that a matching gold sentiment would be so pretty with the gold dots so I die cut the MFT Celebrate from gold Tonic Mirror card stock and some fun foam for dimension. I decided to use one of the MFT scalloped border dies for my panel.


I glued my pattern paper on the card base. I then assembled the flowers and sentiment on the top panel. I placed it on the card base with foam tape for added dimension and I topped everything off with some Pretty Pink Posh gold sequins!

Thanks for taking the time all the products are listed and linked below.


Friday, May 25, 2018

CFC200

Happy Friday! Time for a new Cas-ual Fridays Challenge and the theme is birthday!


I used the fun new 3 x 4 Celebrate stamp set for my project and the balloons from the Bunny Fri-die set. The inspiration for this project was the confetti I used in the shaker portion. I picked three ink colors and used my Stamp Platform so that I could ink my stamp twice. I love the effect of multiple inks on a sentiment.


The die cut window is by MFT and the glitter paper that I used for the balloons is by Simon Says Stamp (I LOVE this glitter paper so much). To finish off I added some of the same confetti and some Pretty Pink Posh Sparkling Clear Sequins.


Join us at the CAS-ual Fridays Challenge blog for the chance to win $25 worth of CAS-ual Fridays Stamps and, drum roll please... Michelle with double the prize if you use CAS-ual Fridays stamps!


Thanks so much for taking the time!
Kim


Thursday, May 24, 2018

Watercolor Flowers!

Happy Thursday! Kim with you here this morning sharing a fun watercolor card!
I decided to use one of my favorite Hero Arts flowers the Antique Rose Stem.


I stamped it repeatedly on my watercolor card stock with my Versamark Ink and embossed with white embossing powder. I heat set the flowers each time I stamped to make it easier to see my next stamping section.


I then colored my flowers with my paints, this is such a fun and relaxing project watching them come together as you build layers with the color. I decided on a rainbow, who doesn't love a rainbow and I added a wash of light blue over the background.


I added my Hero Arts Thank You sentiment die cut from woodgrain paper and the sub-sentiment from the Hello Stamp and Cut. I had originally wanted to add black paint splatters but I forgot... So I simply added a few black dots with the dot from the Happy Stamp and Cut.

Thanks for taking the time! Go check out the challenge!
Kim

Wednesday, May 23, 2018

Simon Says: Use More Than One Stamp!

Happy Wednesday! And that means it's time for another fun Simon Says Stamp Wednesday Challenge! 


This week Simon Says: Use More Than One Stamp! 

The design team is featuring Honeybee products this week and I couldn't resist Penny the Platypus! 


I started by stamping my images on Neena Solar White 80lbs card stock and pulled out my trusty Copic markers. I used my favorite critter combination for Penny E79, E49, E44, E43 and E41. For the flower and gift I used RV25, RV21, YR04 and YR00. My color palette was decided by some fun confetti I picked-up last week.


I then chose coordinating Simon Says glitter paper and some Lawn Fawn Fake Tan for the balloons and the Honeybee sentiment from the Hooray dies set. I then decided on the fun Avery Elle Polka cover plate lined with black card stock. I really like the effect and it makes Penny pop off the card!


I placed all of my elements on the panel and finished by adding that fun confetti and Nuvo crystal glaze on her beak. All of my supplies are listed and linked below!


Thanks for taking the time!

Wednesday, May 16, 2018

Simon Says Stamp Wednesday Challenge - Stencil it Featuring SSS products!

Happy Wednesday crafty friends and that means a new challenge over at the Simon Says Stamp Wednesday challenge! 


This week, we are featuring Simon Says Stamp Products and Stencils!


This little one from the Simon Says Stamp Flowers and Showers set was a must for me to use. I love her (I added lashes so she is a her lol).


I stamped my image on my Neena 80lbs panel and colored with my Copic Markers. Once that was done, I added some grey shading to the bottom of the puddle. I then pulled out my rain drops stencil with some Shaded Lilac Distress Oxide Ink and went over the white on the panel being carful not to ruin my image.


I then trimmed down my panel because I decided on a colored card base (for once) in a complementary color to the shaded lilac. Before placing my panel on the card base, I added the Avery Elle Hugs and Kisses sentiment and the Simon Says Stamp Sending die.


I decided I needed a few hearts so I stamped those as well and I felt the Lavender card base was a little plain so I used an Altenew Stencil again with the Shaded Lilac to give a little punch in the background. Once everything was put together I added some white dot detail and Nuvo Crystal Glaze.


Simon Says Stamp Sending Sunshine Release

Happy Wednesday crafty friends! So excited for the Sending Sunshine release by Simon Says Stamp that went live earlier today!


I got to play with the gorgeous Dazzling Circle Die!


For my first card, I decided to die cut a piece of cardstock and make my own stencil. I thought a rainbow circle would be fun with this die. I used Distress Inks (all products and colors listed and linked below) I love the way it turned out. I then decided to use a stitched circle die and I die cut my Dazzling Rainbow Circle. I cut a Neena 110lbs card base to 4.25 x 8.5 to make a square card and I die cut a dotted square panel to give a little more interest.


I used foam tape to place my circle on the base panel and opted to used the Simon Says Stamp Painted Hugs die with black glitter cardstock. Once that was glued to the panel I added a rainbow mix of Pretty Pink Posh Jewels.


For my second project I die cut the Dazzling Circle from cream colored cardstock and decided that gold accents would be a lovely mix. I glued my gold glitter cardstock to the back of my panel and then decided to use the fantastic You Da Best die from the last Simon's release.


I die cut the sentiment from textured gold cardstock and black cardstock to offer a nice shadow. Glued them together and placed them on the panel. I then added some Nuvo Crystal drops in a variety  of complementary colors.


Go check out the release, it is fantastic!
Thanks for taking the time!
Kim

Tuesday, May 15, 2018

A Blog Named Hero - Watercolor

Hello again crafty friends! My second post of the day :) if you are looking for the Hero Arts Blog Hop just scroll down to the second post! You will want to hop along for a chance to win!


It is time for a new challenge at a Blog Named Hero and this month we are focusing on watercolor!


For those of you who follow my blog, you will know that I have an everything Otter obsession! I love them it's that simple so for my project I used the Hero Arts Otter Family Stamp and Cut set. I colored my images with my Zig Clean Color Real Brush Markers and a water brush and used the accompanying dies.


I then cut a piece of Bristol Card stock with one of my rounded rectangle infinity dies and used a mix of Wilted Violet, Salty Ocean and Peacock Feathers Distress Ink on my craft mat and sprayed all three with water. I dried my panel in between and went back and added more color until I was happy with the "water effect".


I used the sentiment from the Otter Family set and white embossed it on black card stock. placed my panel on the card base and added a sprinkling of Hero Arts Ocean Ombre sequins!

Thanks for taking the time! Go check out the challenge!

Kim