Wednesday, February 24, 2021

Simon Says Stamp Hello Beautiful Release!

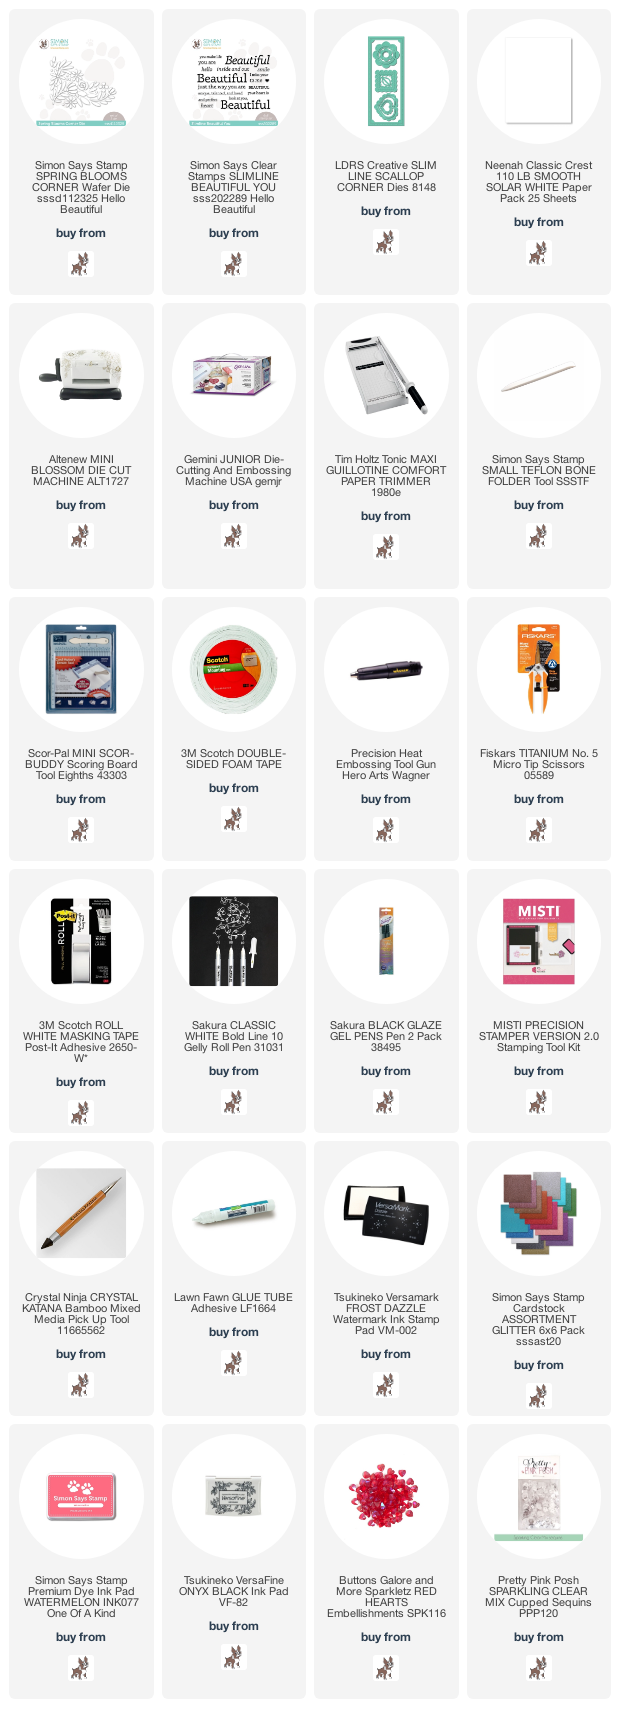
 Happy Wednesday crafty friends! The new Simon Says stamp Hello Beautiful release is live! I will be sharing more this week featuring some of the amazing new products!


I did some die cut inlay with some Simon Says Stamp Glitter Paper.


I started by die cutting my slimline panel and die cutting again with the new Spring Blooms Corner die directly on the panel and with a mix of glitter paper. I added some simple scotch tape to the back and added my glitter pieces. 

Once that was done I used my stamp positioner and stamped my beautiful and secondary sentiment.


The sentiment is so bold and should be the star of the show! I added a heart to the "I' and some flower centres on the daisies. To finish off, my favorite Sparkling Clear Sequins!

Thanks for taking the time, products used are listed and linked below. Affiliate links used at no extra cot to you! Go check out the new release:)
Kim

Wednesday, February 17, 2021

Simon Says: Favorite Technique!

Hello crafty friends it's Wednesday and that means it's time for a new Simon Says Stamp Wednesday Challenge! 


This week Simon Says: Favorite Technique! We are featuring always amazing My Favorite Things products it isn't a requirement to use them but if you have them we would love to see them!

Come join in on the fun, you have the chance of winning a $25 gift card to the fantastic Simon Says Stamp store! 


I love a good die cut inlay on a card so that is the technique I am showcasing today using this super fun MFT Hugs Die!

I started by stamping and gold embossing my MFT Fresh Cut Flowers Cling Stamp and took out my Karin Markers and a water brush to color them in and then die cut the hugs directly to the panel.


I mounted the hugs on black fun foam for added dimension. I then die cut my panel with my MFT Stitched Scallop Die. I mounted white fun foam to the back of the panel and then glued the Hugs to the white foam.

I cut a piece of the MFT black and white stripe paper and glued it to the card base then added my panel.


To finish off, I gold embossed the friend sentiment (also by MFT) and added it to the panel. To finish off, I added some Sparkling Clear sequins by Pretty Pink Posh!


Follow Simon Says Stamp on Instagram


Thanks for taking the time, products used are listed and linked below! Affiliate links used at no extra cost to you :)

Monday, February 15, 2021

Lucky To Have You!

 Happy Monday crafty friends! I am over at LDRS this morning sharing this St-Patrick's Day inspired card featuring the super fun LDRS Carefree Gnomes and accompanying Die Cuts.

I love making St-Patick's Day projects, I am Irish and St-Paddy's is my favorite day of the year because winter is nearly behind us! I started by die cutting my panel using the A2 sized Stitched Card Topper Dies and then stencilling my rainbow clouds using the LDRS Rainy Day Stencil

I stamped my images using the Raven Hybrid Ink and colored them in with my markers. I die cut my images set them aside then die cut some clouds from the Whale Wishes Die Set, I added all of my elements to the panel using a mix of foam tape and glue.

I embossed my sentiment from the same set and added that with foam tape as well. I used white gel pen for added detail on my images and then some bling from my stash! To finish off, I added some twine at the top!

Thanks for taking the time, products linked below affiliate links used at no extra cost to you!

Have a great week,

Kim 


Friday, February 12, 2021

Yeti Valentine Hugs!

Happy Friday crafty friends! Sharing my last Valentine's Day card for this year!


I just received these super fun Whimsey Stamps products and had to play with them! This will also be my parents card, too fun to keep for myself! 

I also received this amazing Simon Says Stamp Red Holographic cardstock, it is gorgeous people! So I started by die cutting my Hearts slimline cover hearts die from Neena Solar White cardstock and trimmed my holographic background panel to size.


I then stamped and colored my Yeti (love HIM!) with my Copic markers and fussy cut him out. I decided to add a vellum heart behind him because there was lots o' red! and put everything together.

I  decided to add some of the cutout hearts from the original slimline die and do some light ink blending with some Picked Raspberry Distress ink and added them to a few of sections.


I white embossed my sentiments on the same hologram cardstock and added them at an angle. To finish off, I added some red candy hearts and some white gel pen detail. I am so happy with the way this turned out.

Thanks for taking the time, products used are listed and liked below. Affiliate links used at no extra cost to you!

Kim

Wednesday, February 10, 2021

Simon Says: Make a Slimline Card!

Hello crafty friends it's Wednesday and that means it's time for a new Simon Says Stamp Wednesday Challenge! 


This week Simon Says: Make a Slimline Card! We are featuring super fun LDRS products it isn't a requirement to use them but if you have them we would love to see them!

Come join in on the fun, you have the chance of winning a $25 gift card to the fantastic Simon Says Stamp store!


I chose the amazing Slimline Corner Scallop die set with includes all the fun hearts that I used and the panel die among others!

I started by die cutting my Trinity Stamps Slimline paper and then chose my glitter and specialty paper for the hearts.  I then stamped the super fun chocolates from the Simon Says Stamp Sweet Truffles stamp set and coloured them in with my Copic Markers. 


I added some Unicorn Glitter and some glossy accents to the chocolates and put everything together on the panel. I die cut the smaller heart from the same LDRS stamp set and added them to the larger hearts.

I chose sentiments from a Sunny Studio stamp set and embossed both of them on black cardstock. Added everything to the card base and to finish off some of my favorite candy hearts!


Follow Simon Says Stamp on Instagram


Thanks for taking the time, products used are listed and linked below! Affiliate links used at no extra cost to you :)

Tuesday, February 9, 2021

Sweet Friend with Altenew!

 Happy Monday crafty friends! Had such fun putting together this super quick card featuring some fabulous Altenew Leaves!


I started by choosing my color scheme and paper, die cut my leaves and glued them together.


I took my new Waffle Flower stencil and added some light Distress Ink to the background on the panel. I then die cut it using the second largest LDRS Stitched Layered Topper die.  I added my leaves using foam tape.


I gold embossed my sentiment from another Altenew set and added it to the card. To finish off, I added some Sparkling Clear Sequins.

Thanks for taking the time, products used are listed and linked below. Affiliate links used at no extra cost to you!
Kim

Wednesday, February 3, 2021

Simon Says: Love Is In The Air!

 Hello crafty friends it's Wednesday and that means it's time for a new Simon Says Stamp Wednesday Challenge! 


This week Simon Says: Love Is In The Air! We are featuring Simon Says Stamp brand products it isn't a requirement to use them but if you have them we would love to see them!

Come join in on the fun, you have the chance of winning a $25 gift card to the fantastic Simon Says Stamp store!


I needed to play with the Heart Animals stamps and dies from the Simon Says Stamp Love You release. I coloured the dog to look like my Springer Spaniel with Copic Markers and used the accompanying dies.

I die cut my panel using my Layered Card Toppers by LDRS and used my Simon Says Stamp falling hearts stencil and some pink ink using a light hand.


My image felt a little bare so I decided to add an envelope from the Simon Says Stamp Mini Interactive Envelope die set and I was happier with the grouping.

I die cut the Love You die also from the Mini Interactive Envelop die set.


To finish off, I added some Studio Katia Icy Sparkle Crystals and some white gel pen detail!


Follow Simon Says Stamp on Instagram


Thanks for taking the time, products used are listed and linked below! Affiliate links used at no extra cost to you :)