Showing posts with label Honey Bee Stamps. Show all posts

Monday, April 1, 2019

Pink and Main Easter

Happy Monday Crafty Friends! 1st day of April, the weather is starting to look up! I am sharing an Easter card today featuring these absolutely gorgeous, whimsical Pink and Main stamps!


I simply fell in love with this stamp set when I saw it in the Simon Says Stamp Store it's called Sketched Easter. I debated doing some no-line colouring but the detail is so beautiful on these stamps that I decided on Copic coloring and stamping them in black to show the complete detail.


I used my Misti to be able to double stamp if necessary (and it was) and coloured my images (colors listed below). I wanted to use as many images from this set as possible. Once that was complete and the images were die cut, I added some black and white gel pen detail.


I wanted a simple background so that the images would be the "stars" so I chose the largest Honey Bee Stamp polka dot stencil and used a light hand with my Shaded Lilac Distress Ink. I then placed all of my images with a mix of foam tape and glue onto the card base.

To finish off, I used the new Tonic pearl Nuvo drops (these are gorgeous people) in the lilac color.

Thanks so much for taking the time! All products used are linked and listed below. Affiliate links used at no cost to you!

Kim

Wednesday, March 6, 2019

Simon Says: Create a Scene

Hello crafty friends! It's Wednesday and that means it's time for a new Simon Says Stamp Wednesday Challenge!


This week Simon Says: Create a Scene! The design team is featuring amazing Honey Bee Stamps products!  It isn't a requirement to use them but if you have them we would love to see them!

Come join in on the fun, you have the chance of winning a $50 gift card to the fantastic Simon Says Stamp store!


So, St-Patrick's Day is and always has been my favorite day of the year! I am Irish, Montréal holds major St-Patrick's Day celebrations annually and it is my sign that Spring is coming! All in all a great day for me :) So, I decided to use the super sweet Mae the Mouse set and the accompanying shamrock stamp in the same set.

I started by using my MFT Mini Cloud Stencil and some Shaded Lilac Ink on my background. I then die cut my MFT Rainbow in a series of colors from my scrap bin. Once the rainbow was glued onto my panel I die cut it with the largest Lawn Fawn Stitched Rectangle Die (A2 sized).


I then stamped Mae and a series of Shamrocks on a piece of Neena 80lbs cardstock and colored them in with my Copics (colors listed below). I used the accompanying dies and I decided to stamp a hat from the Honey Bee Flakey Friends set for Mae and added a shamrock onto the hat itself.

I die cut my Lawn Fawn Cilantro cardstock with a Lawn Fawn Grassy Border and added some Mowed Lawn Distress Ink and added it to the card panel. I placed all of my elements on the panel and decided to use the Honey Bee Enjoy die for my primary sentiment and die cut that from a Tonic Glitter, Fun Foam and Stick It sandwich. My secondary friend sentiment is from the More Flakey Friends stamp set and I embossed that with Ranger glitter embossing powder.


To finish off my card, I added some Pretty Pink Posh Shamrock Jewels and some Studio Katia Butterfly Chunky Glitter!


Follow Simon Says Stamp on Instagram

Thanks so much for taking the time! All products used are listed and linked below, affiliate links used at no extra cost to you!
Kim


Tuesday, February 5, 2019

Bee Mine!

Happy Tuesday crafty friends! Today I am playing with this older (new to me) Honey Bee Stamps set :)


This card was such fun to make, look at the faces on those bees! There is a large selection of faces in the Build-A-Bee set that you can add, really fun stamp set.

I started by die cutting my Neena 110lbs card panel with the Honey Bee Deckle Edge A2 dies and applied a mix of Mustard Seed, Fossilized Amber and a touch of Hickory Smoke (for added dimension) Distress Ink to my stencil in selected locations, I did not want the whole panel covered.


I then stamped and coloured my Bees with my Copic Markers and cut them out - I didn't order the dies, not too smart of me, lol but these are easy enough to cut out. I just re-stamped them on the card base for the antennae that I cut off.  I glued my bees with some foam tape and my Nuvo glue for the bee in the back at the bottom.


I stamped my sentiment and added a mix of yellow and black jewels and after all of that, I decided to use my Simon Says Stamp Unicorn Dust on the wings I love the effect that it gave my bees.

Thanks so much for taking the time! All products used are listed and linked below, affiliate links used at no extra cost to you!!!
Have a great day,
Kim

Monday, January 28, 2019

Winter Anemones with Honey Bee Stamps!

Happy Monday crafty friends! I am sharing a card featuring Honey Bee Stamps today in colors that I don't normally use! I am trying to get out of my comfort zone and try new things this year and the Anemone inspiration photo that I found on Google was perfect for this!


I just loved this flower and though the colors were perfect for the Honey Bee Winter Anemones!


I decided to use my Zig Clean Color Real Brush Markers for these, I love the ease of blending with these and since the colors were so intense they were the perfect choice.

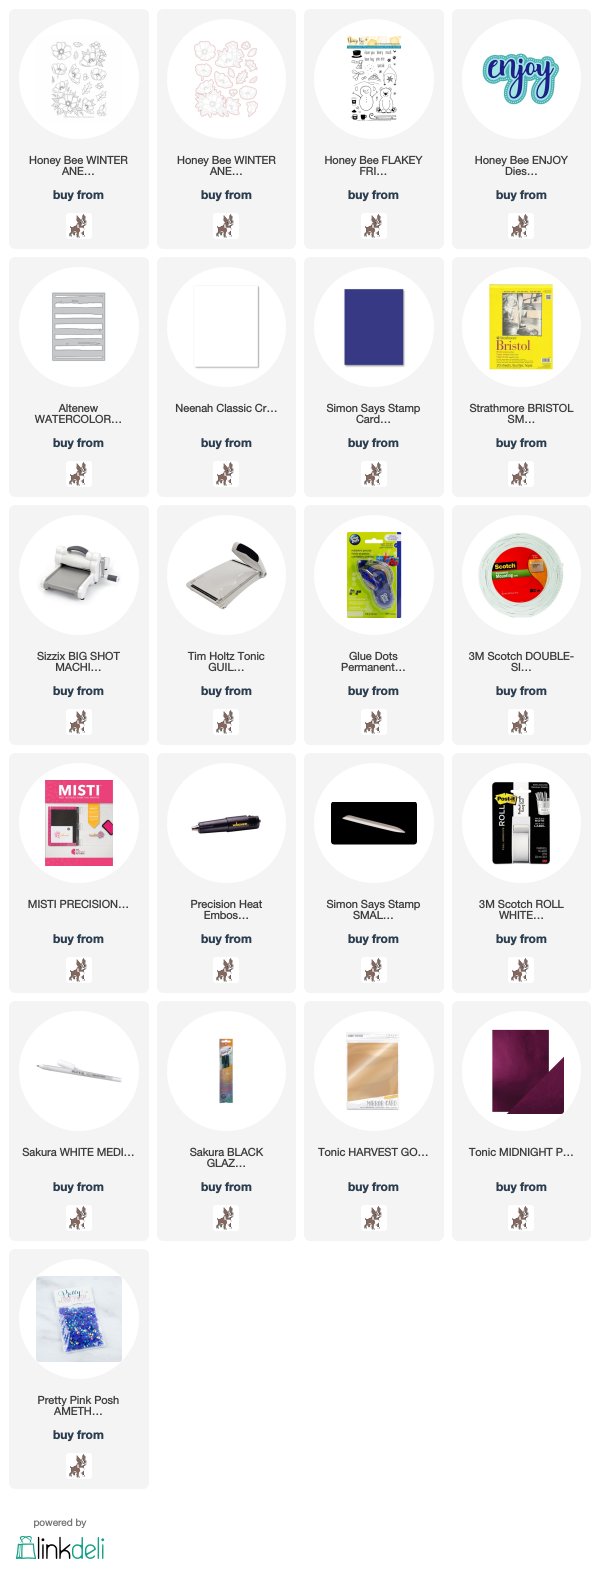
I stamped and gold embossed my Anemones on Bristol Smooth cardstock, colored them in and used the accompanying dies.


Once I had my flowers complete I looked through my cardstock and felt the Simon Says Stamp Blue Violet was the perfect match for the background.  I used the Altenew Watercolor Stripes Cover die, I felt it complemented this beautifully so I die cut it from some Tonic Harvest Gold Mirror cardstock and used foam tape to adhere to the background panel.

I glued my flowers and leaves with a mix of glue and foam tape and cut the excess off the panel.  I chose the Honey Bee Enjoy sentiment and die cut that from the same Harverst Gold and Tonic Midnight Plum for the "liner" sentiment.


The secondary Friend sentiment is from the Honey Bee More Flakey Friends set and I used the same gold embossing power.  I finished off my card with some Pretty Pink Posh Amethyst Jewels.

Thanks so much for taking the time! All products listed and linked below, affiliate links used at no cost to you!

Thanks for taking the time!
Kim


Tuesday, November 14, 2017

Honey Bee Flakey Friends Gift Tags

Happy Tuesday! Quick post today to share these cute Honey Bee Stamps Flakey Friends gift tags.

These are my first two sets of Honey Bee Stamps that I just purchased from Butterfly Reflections Ink.  I just love these critters and they are actually sold-out on the Honey Bee site but if you are interested Vanessa at Butterfly Reflections Ink. had some in-stock and they are currently on sale!


This bear from the Flakey Friends set is by far may favourite! He is too cute! I die cut my Avery Elle Shaker Tags Elements from Neena Solar White. I only cut with the main tag die I then embossed the second die that is meant to be the top of the shaker to add the dotted detail to my tags. I stamped my bear first with my Misti and masked him off at the bottom to stamp the snowy slop stamp with HA Soft Pool ink. I then coloured him with Copics.


I repeated the same process for all four tags for the main image and the slop.  I then stamped the snowflake cluster also with the Soft Pool ink all around the images and I masked the sides of the tag so the border would remain white.


I then stamped all of my accessories on a seperate piece on Neena and coloured them in also with my Copics and I fussy cut the images.  For the lights on the deer above I just stamped them directly on the antlers. The angle worked well and I coloured them in.


I then added all of my scarves and hats to my images and added some white gell pen detail.  I die cut the sentiment banner by Lawn Fawn also from Neena and stamped my sentiment also by Lawn Fawn in a mix of embossing ink and Lawn Fawn Lobster ink.  I used glitter embossing powder on two and the ink on the other two.


I then added some Star Dust Stickles to the snow slope and the whites of the two hats and some glossy accents to noses and eyes. I then die cut a coordinating color tag and offset the white tag on top. Finished them with a mix of twine and wool.

Thanks so much for taking the time!
Kim