Monday, April 1, 2019

Pink and Main Easter

Happy Monday Crafty Friends! 1st day of April, the weather is starting to look up! I am sharing an Easter card today featuring these absolutely gorgeous, whimsical Pink and Main stamps!


I simply fell in love with this stamp set when I saw it in the Simon Says Stamp Store it's called Sketched Easter. I debated doing some no-line colouring but the detail is so beautiful on these stamps that I decided on Copic coloring and stamping them in black to show the complete detail.


I used my Misti to be able to double stamp if necessary (and it was) and coloured my images (colors listed below). I wanted to use as many images from this set as possible. Once that was complete and the images were die cut, I added some black and white gel pen detail.


I wanted a simple background so that the images would be the "stars" so I chose the largest Honey Bee Stamp polka dot stencil and used a light hand with my Shaded Lilac Distress Ink. I then placed all of my images with a mix of foam tape and glue onto the card base.

To finish off, I used the new Tonic pearl Nuvo drops (these are gorgeous people) in the lilac color.

Thanks so much for taking the time! All products used are linked and listed below. Affiliate links used at no cost to you!

Kim

Friday, March 29, 2019

Have a Happy Day!

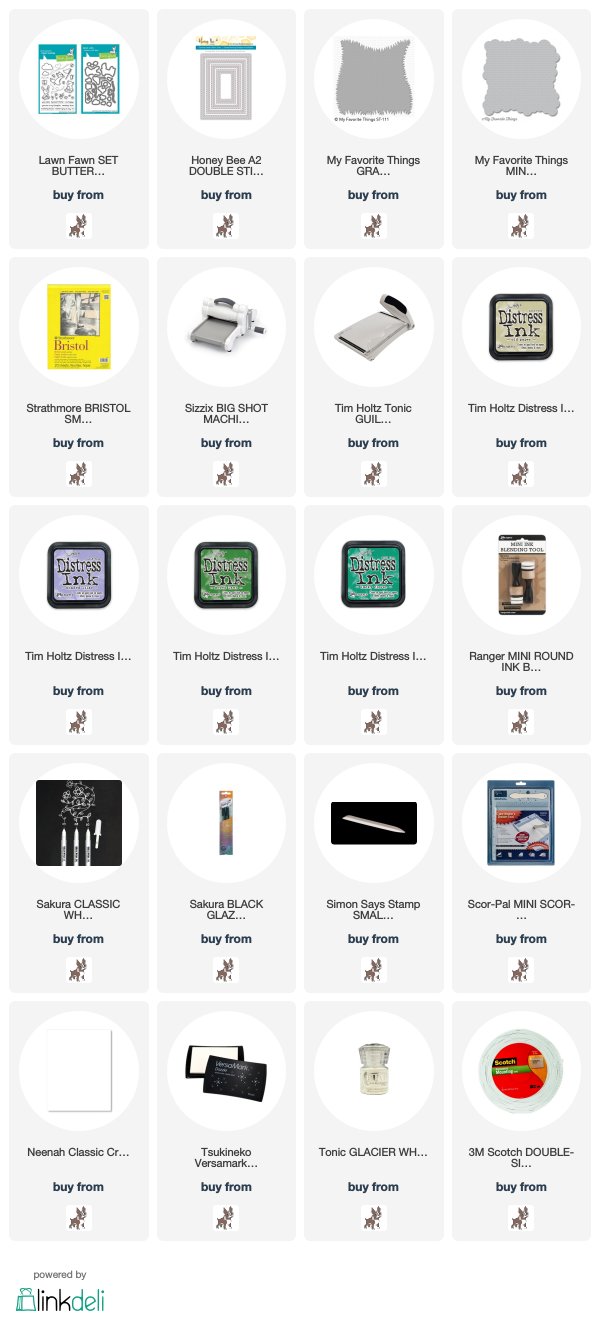
Happy Friday crafty friends! Sharing a quick card today featuring my favourite set from Lawn Fawn's last release - Butterfly Kisses.


I couldn't wait to ink this set, I have had it since the release date but have not had to chance to play! I decided that I wanted to try no-line colouring with my Zig Clean Color Real Brush Markers on these sweet critters.

I used my Distress Ink in Old paper to stamp all of my images on some Bristol cardstock and colored my images.  I used the accompanying dies and added some black and white gel pen detail.


I took my MFT Mini Cloud Stencil and Grassy Borders Stencil with Shaded Lilac for the clouds and a mix of Mowed Lawn and Lucky Clover Distress Inks for the grass. Once that was dry, I die cut my panel using my Honey Bee A2 Stitched Rectangle die and glued the frame flat to the card base and I used foam tap for the middle panel.


I felt the grass needed some more elements so I die cut the blades of grass from Lawn Fawn Cilantro cardstock and added some Copic accents. I glued them behind the critters. To finish off, I added some clay flowers from my stash!

Thanks so much for taking the time!
All products are linked and listed below. Affiliate links used at no cost to you!
Kim


Wednesday, March 27, 2019

Simon Says: Anything Goes feat. Tim Holtz!

Hello crafty friends! It's Wednesday and that means it's time for a new Simon Says Stamp Wednesday Challenge!


This week Simon Says: Anything Goes! The design team is featuring amazing Tim Holtz products!  It isn't a requirement to use them but if you have them we would love to see them!

Come join in on the fun, you have the chance of winning a $50 gift card to the fantastic Simon Says Stamp store!


I have always loved the Tim Holtz "crazy" series of stamps and accessories. So for my card today, I decided to use the Crazy Dogs and Crazy Things to create an Easter card for my parents featuring a look-alike of one of my pups!  This is actually funny because I did try and put Minnie Mouse ears on my golden and this is pretty much the look she gave me... lol! 


I started by stamping my dog and bunny ears on Neena solar white 80lbs cardstock so that I could color the images with my Copic markers.  I used the accompanying Framelits to die cut both the dog and the ears. My own girl has a daisy name tag, so I added a flower from my stash to the collar.

I then chose some Lawn Fawn Easter accessories (Eggs and Jube Jubes) and stamped them in Easter pastel colors.


I embossed my panel with a polka dot embossing folder from my stash and I glued the eggs first, then added my dog and ears and finished by adding the various Jube Jubes to the front.  I chose a Happy Easter sentiment also by Lawn Fawn and embossed it on one of the new wavy banners. I decided to cut it in two pieces, it simply looked better on the cardfront.

I then added some Pretty Pink Posh Sparkling Clear Sequins to finish everything off! 


Follow Simon Says Stamp on Instagram

Thanks so much for taking the time! All products used are listed and linked below, affiliate links used at no extra cost to you!
Kim

Sunday, March 24, 2019

Hello Beautiful!

Happy Sunday crafty friends! This is my last post for A Blog Named Hero! The year has gone by so fast and it has been such fun! Before I get to my card for today, I wanted to thank Lisa and Jess for asking me to join this fantastic team and a special thanks to my talented teammates from this last year

The current challenge is embossing, which I regularly use on all of my cards! 


I chose to use one of the newer large Cling Flowers: Overlapping Petals. I love the scale of these flowers!


I stamped my flower with a pale Kraft coloured ink using my stamp platform so that I could re-stamp it to add my embossing powder. I pulled out my Tombow markers (haven't used those in a long time!) 

Once that was dry, I used my rose gold embossing powder on the flower and the leaves.

Once that was dry, I used my rose gold embossing powder on the flower and the leaves. I decided to die cut a frame using my rounded rectangles and I added some Salty Ocean Distress Ink on the background with some water splatters for added texture.


I put my card together using some foam tape. I added my sentiment and some clear drops to finish off the card!

Thanks so much for taking the time! You still have time to play in the challenge!
Kim


Friday, March 22, 2019

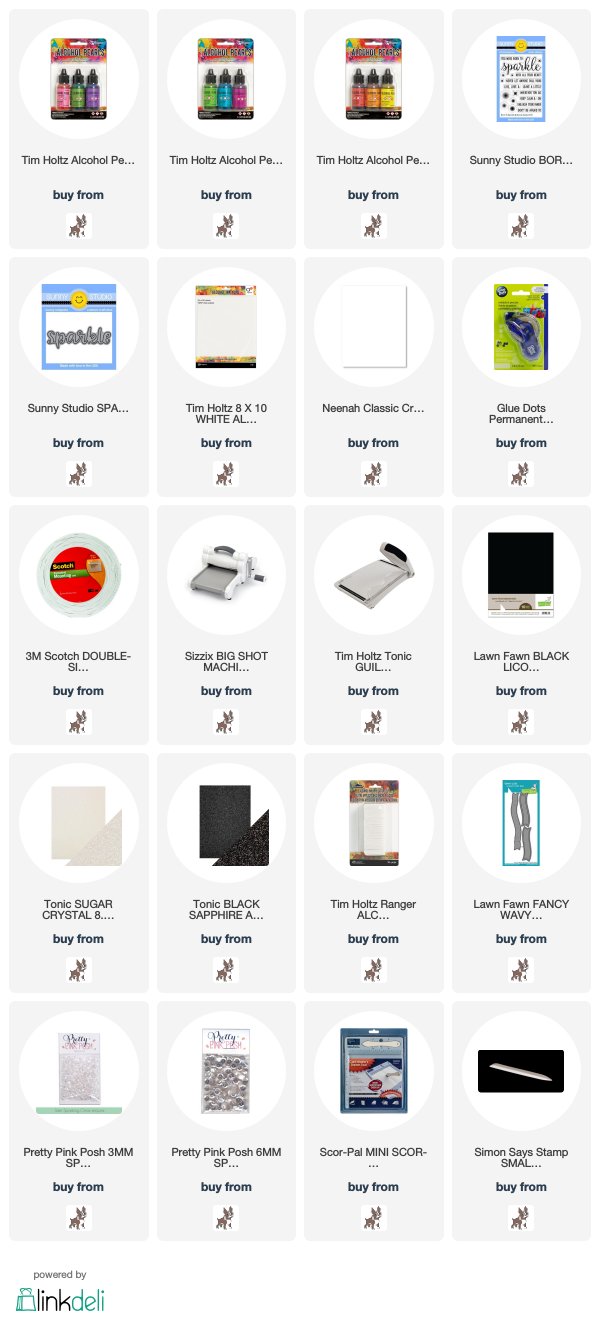
Rainbow Alcohol Pearl Inks

Happy Friday! So happy it's almost the weekend! Many of you probably watched the Jennifer McGuire tutorial on the new Alcohol Pearl Inks where she used a straight edge and a piece of felt to make some awesome backgrounds (here is the link). If you haven't seen it I am highly recommending it!!!


For my background, I used a rainbow selection of the Alcohol Pearl Inks and a piece of inexpensive felt and taped it to a straight edge. I put a few drops of the the ink directly on the felt with a bit of blending solution. and spread directly on my Yuppo paper, I repeated the process until I was happy with the result.


I die cut the panel and left all of the pieces in the die.  I scored my Neena 110lbs card base and simply added foam tape to most of the pieces still in the die. I used liquid glued for the smaller pieces.  I flipped my panel and line it up and simply used my poker tool to place the die pieces on the base.


I then chose this fantastic die cut and sentiment set by Sunny Studio and Tonic Glitter paper. I die cut two black and one white piece and offset all three pieces. I then white embossed my secondary sentiment on Lawn Fawn Black Licorice cardstock.  To finish off mu project, I added some Pretty Pink Posh Sparkling Clear Sequins.

Thanks for taking the time! All products used are listed and linked below. Affiliate links used at no extra cost to you!

Have a great weekend,
Kim

Wednesday, March 20, 2019

Simon Says: Cute!

Hello crafty friends! It's Wednesday and that means it's time for a new Simon Says Stamp Wednesday Challenge!


This week Simon Says: Cute! The design team is featuring amazing Clearly Besotted products!  It isn't a requirement to use them but if you have them we would love to see them!

Come join in on the fun, you have the chance of winning a $50 gift card to the fantastic Simon Says Stamp store!


I had to play with this cute Twinkle Toes set by Clearly Besotted, I mean how sweet are these hippos! 

I started by stencilling my background using my MFT Stencil Cloud and a mix of Distress Inks. Once the background was done, I die cut the sides using my new Avery Elle border dies.  I then stamped and colored my little hippos using my Zig Clean Color Real Brush Markers and then used the accompanying dies. I decided to add some Simon Says Stamp Unicorn Dust to the Tutu's for some added shimmer.


I then die cut my Heffy Doodle clouds from both Vellum and White cardstock and I placed all of my elements to the card panel. 

I took one of my new Lawn Fawn banner dies and die cut that from Black Licorice cardstock and white embossed my sentiment from the Clearly Besotted Seal of Approval set. I also decided to add the MWAH from the same stamp set.


To finish off my card, I added a mix of Pretty Pink Posh iridescent hearts and some pink candy hearts and some black gel pen on the eyes and white gel pen detail on the cheeks and eyes.


Follow Simon Says Stamp on Instagram

Thanks so much for taking the time! All products used are listed and linked below, affiliate links used at no extra cost to you!
Kim

Friday, March 15, 2019

A Blog Named Hero: Embossing

Happy Friday! Today is the 15th and that means it's time for a new Challenge over at A Blog Named Hero!

This month we are al about embossing! 


I decided to go with the Layering Hydrangea for my project, I am in dire need of Spring inspiration so that is what decided my color palette.

I started by stamping my images and die-cutting them. I used my favourite rounded rectangles for the panel and used a Hero Arts stencil and added some color on the background to match the flower centres. I am telling you, I need bright lately, lol!

I added my flowers and leaves with foam tape and I embossed my sentiment from the same set with gold embossing powder. I finished everything of with some iridescent sequins!

This will be a fun challenge! So many ways of embossing!

Thanks for taking the time!
Kim