Showing posts with label Strathmore Bristol Paper. Show all posts

Wednesday, April 3, 2019

Simon Says: Animal Antics

Hello crafty friends! It's Wednesday and that means it's time for a new Simon Says Stamp Wednesday Challenge!


This week Simon Says: Animal Antics! The design team is featuring amazing Hello Bluebird products!  It isn't a requirement to use them but if you have them we would love to see them!

Come join in on the fun, you have the chance of winning a $50 gift card to the fantastic Simon Says Stamp store!


I have been practicing my no-line coloring lately and have been having fun with it! I used my Zig Clean Color Real Brush Markers for this fun scene featuring the Hello Bluebird Moose and Friends stamp set.

I used the Gina K. Amalgam Ink for the first time on this project and I was super happy with the result. I stamped all of my images on Strathmore Bristol Smooth cardstock, colored my images and die cut all of my elements.


I also used Bristol for my base panel and stamped my Hooray sentiment from the same stamp set and colored it in rainbow order. I then used my MFT Mini Cloud and Grass stencils with Salty Ocean and a mix of Mowed Lawn and Lucky Clover Distress Inks. I find it easier to stencil after the initial coloring and simply avoid the colored area.

I placed all of my images on the base panel using a mix of foam tape and glue and added some gel pen detail. I made a mistake on my Moose (typical of me, lol) so I decided to give him some googly eyes instead of starting over. I find there is always a way to save my images!


I added my "champagne" colored Spica pen to add strings to my sentiment balloon and gold embossed my secondary sentiment. I die cut that sentiment using the new Mama Elephant strip dies and used foam tape to add that to the card.  

To finish off the card, I added some hearts and the new Nuvo Dream Drops (LOVE these)!


Follow Simon Says Stamp on Instagram

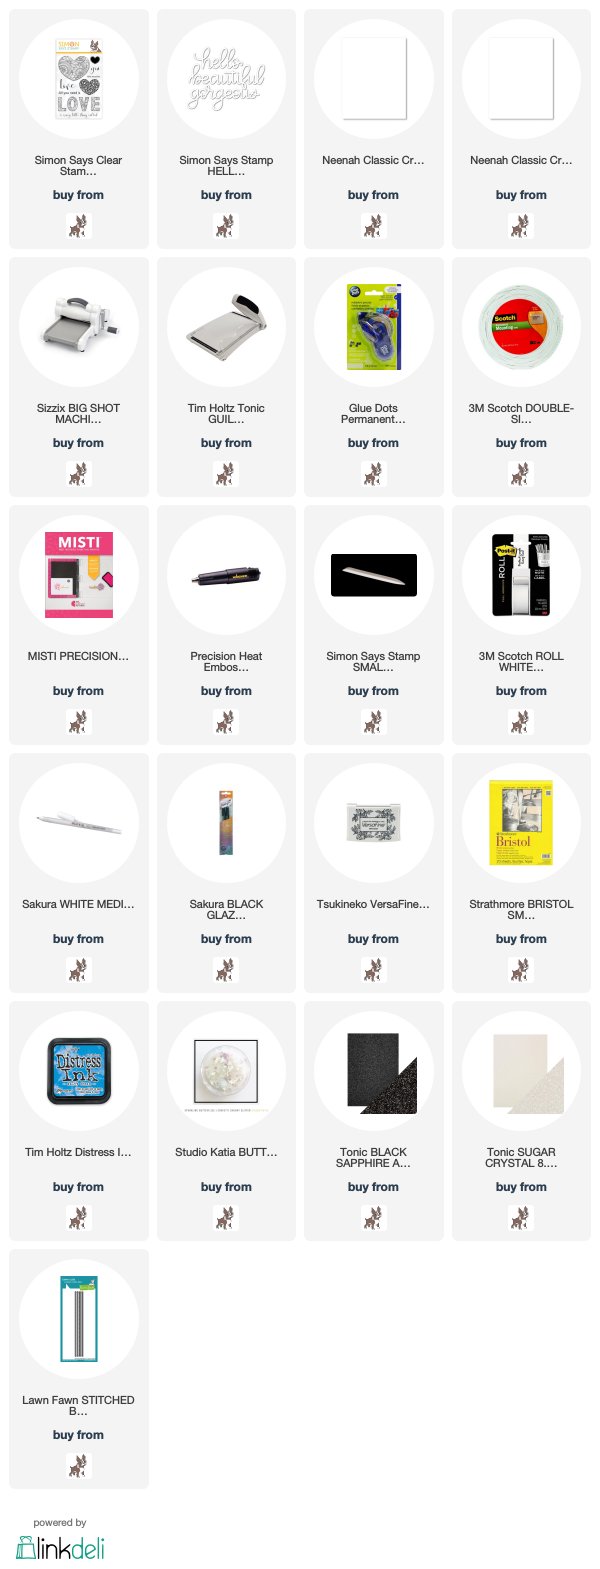
Thanks so much for taking the time! All products used are listed and linked below, affiliate links used at no extra cost to you!
Kim


Monday, January 21, 2019

Simon Says Stamp - Mirror hearts into a Butterfly!

Happy Monday crafty friends! Sharing a Simon Says Stamp brand exclusive card today!


So I am in love with this detailed heart from the Ornate Love set that was in the last Simon Says Stamp "You Are Loved" release.  I originally wanted to do a mirror heart card, but when my husband saw it he said "what a beautiful butterfly" lol so that's what it became :)


I started by finding the centre of my Bristol Smooth paper panel and placing my stamp aligned to the centre of the cardstock in my Misti and stamped the heart. I flipped the panel and stamped it a second time using Versafine Onyx Black in so that I could use my Zig Clean Color Real Brush markers.

Once that was done, I die cut a large butterfly with a die from my stash using Tonic black glitter paper and cut the centre of the butterfly and glued it to the panel.  I chose the fantastic Hello Beautiful Gorgeous dies from Simon Says Stamp and die cut it from both White and Black glitter specialty cardstock both by Tonic and glued it to the panel a little offset so the black would frame the white.


I then used one of the Lawn Fawn Stitched Border dies above and below the panel and trimmed it. I added some Sunny Studio paper in the background and finished off with some Studio Katia Chunky Butterfly Glitter and Sequins.

Thanks so much for taking the time, all products used are listed and linked below - affiliate links used at no extra cost to you!
Kim

Tuesday, February 27, 2018

Flowers, flowers and more flowers!

Happy Tuesday craft friends! I thought I had programmed this post for yesterday but my little brain forgot to schedule it! 

I am very excited that I will begin teaching card-making classes at my local store called Scrapbook Centrale! I am so looking forward to the first class which should in March. The first class will be "faux watercolor" technique with Tombow markers.

The store started carrying Studio Katia and let me tell you I have been having fun with these stamps!


I started by die cutting my Bristol paper with the Darling Ribbon and Dotted Frames dies and I stamped my flower with Versafine Onyx Black ink.

My Tombow markers were the first markers I owned when I started card-making. I haven't used them in years but boy I have fallen in-love all over again. I used one color of pink and one blue for the flower from the Thank You So Much stamp set. I started with an initial wash of color, adding color in the shaded areas and blended to cover the whole petal with my water brush. Once it was dry, I went in a second time to intensify the shading. I added some blue around the flower and blended out also with my water brush. I love the effect and it didn't take much time to complete. 


This second set is such fun, it comes with two stamps that can fit together. I decided to use both but one outside and one in so when the recipient opens the card you see the pair.  I also only used one marker per color family for this one and painted the flowers all in the same way as the first project.


I used Bristol paper for this one also and die cut the flaps of the card with an MFT border die. I used my hole punch and added seem Lawn Fawn black Lawn Trimmings to tie the card flaps together. The sentiments are both from the Studio Katia Blooming Bunch stamp set.

Thanks so much for taking the time!
Kim


Monday, February 12, 2018

Looking forward to spring!

Happy Monday crafty friends! Spent a weekend with weird winter weather patterns so I was inspired to break out one of my favorite floral stamp sets to cheer me up!


This W Plus 9 Kind Soul stamp set makes my heart happy :) I took out my Tombow markers that I haven't touched in years and let me tell you I was so happy that I did! I only used two colors on each of the flowers and the leaves.  

I started by stamping the bouquet on a large piece of Bristol card stock only meaning to color the flowers. I added a wash to all of the leaves and flowers and blended out with my water brush. Once everything was dried I went back in with a darker color only adding a bit to the areas that would have the most shading and blended out once more with the water brush (which I used to have more control on the amount of water on the image).


Once I was done coloring, I decided to turn it into a one layer card. Using watercolor as opposed to Copics makes this so easy as there is no seeping of color on the back of the panel. I scored my card at 4.25 and creased it with my bone folder. 

I die cut the awesome, Awesome from Neat and Tangled in black card stock and glued it on the card front and then stamped the You Are from Avery Elle just above. To finish off the project, I added a sprinkling of Studio Katia diamond gems.

Thanks so much for taking the time!
Kim

Wednesday, February 7, 2018

Winter inspires rainbows!

Happy Wednesday (or hump day) crafty friends! For some reason I have been focusing on rainbow colors lately, more than likely inspired by winter which has been pretty intense thus far this year.

I have been playing a lot with my last Mama Elephant order and this project is no different :)


All of the stamps used are from the new Pretty Lovely stamp set by Mama Elephant from their January release. I cut a piece of Strathmore Bristol paper to 5.25 x 4 inches and I stamped the flower with VersaMark ink repeatedly around the border and white embossed the images with Nuvo embossing powder (love the pure white).  I decided to use my oh-so-loved Zig Clean Color Real Brush Markers to color in the flowers.


Once I finished the flowers I decided on the large Lovely sentiment from the same set with the accompanying smaller sentiments. I stamped them with Versafine Onyx Black Ink (I always used this ink for sentiments unless I need to use my Copics on or around the sentiment). I love the black intensity you get from the Versafine.

I colored in the Lovely with the same colors of Zig markers and topped it off with Glossy Accents.  I then wanted to accent my flowers so I went in with a very pale green (Green Shadow I think???) used my water brush to soften the lines. I then finished it off with some Pretty Pink Posh Sparkling Clear sequins!

Thanks so much for taking the time!
Kim


Monday, October 9, 2017

Happy Canadian Thanksgiving!

Happy holiday Monday crafty friends! At least it is a long-weekend in North America, Thanksgiving here in Canada and I believe Columbus Day in the US.  I have had such a nice much needed restful long-weekend, makes me want to cut my work week down to four days!

I had a lot of time to play in my craft room, for those of you who follow this blog you will know that I really enjoyed World Card Making Day and I will be posting what I created throughout the next few weeks. Today's project feature the gorgeous WPlus9 Christmas Rose Bouquet.


I started by die cutting my panel with the largest Lawn Fawn Stitched Rectangle die from Bristol card stock to use my Zig Clean Color Real Brush Markers. I then lined up my stamp in my Misti and stamped it with Simon Says Stamp clear ink (love the stuff, really juicy ink pad) then used my gold embossing powder and my heat tool.  

I find myself often using my Zig Markers with WPlus9 flowers, I just love the effect. I started with the Poinsettia then the leaves and finished off with some greys to give a "white" flower effect.

For my sentiment, I ordered the Hero Arts Stamp and Cut DC214 - Wonderful. I recently picked up this fantastic Tonic Mirrored card stock the wonderful is die cut from the flat gold. I just love the way it looks with the embossing powder.  Once I placed that on the base I used the accompanying sentiments from the same set in VersaFine Onyx Black Ink.

To finish off the project I used a Pretty Pink Posh Christmas sequin mix. 

If you are having a long-weekend I hope you enjoyed! Thanks for taking the time!
Kim

Tuesday, July 11, 2017

Wplus9 Special Birthday Card

I have not posted in so long, I have been away on a business trip for the last week. I missed my little blog!

This is a special card, I made it for my favourite aunt who turned 70 on July 5 and hasn't been well.  She is a very special lady in my life and she lives in my hometown therefore, I see her maybe once a year.


I used the gorgeous Wplus9 Kind Soul stamp set, the name of that stamp was entirely appropriate and the floral is simply beautiful.  I gold embossed the stamp on Bristol paper and used my Zig Clean Color Real Brush Markers.  This floral card is very much my aunt.  I topped it off with a Lime Citron sentiment. My family is all french and these nice french sentiments are very hard to find.  If anyone is looking, Lime Citron is a great choice and has a nice selection.

I finished everything off with Pretty Pink Posh sequins!
Thanks for taking the time!

Kim

Thursday, June 16, 2016

Penny Black Scented Beauty

I am on a Zig Clean Color Brush Marker binge lately!! Along with that, I am so obsessed with Penny Black flowers probably because it is finally feeling like summer :)


I am trying to practice no-line watercoloring... I usually just use my Zigs without water because they blend like a dream but I am trying to push myself to do other techniques!  I always use Strathmore Bristol paper with my Zigs, I just find it the best with those markers.  I die cut my panel (Avery Elle Wonky Stitched die) and used my Misti to place the Slapstick Cling stamp at the angle I wanted. I used Antique Linen Distress ink and stamped it twice to see the definition of the roses better.  

This card is for my favourite aunt who is battling dementia her birthday is soon and she loves getting my cards in the mail, so this one is extra special to me. She is French Canadian so the sentiment is by a Quebec stamp company called Limecitron.

Thanks for taking the time!
Kim